Zhejiang ZUCH Technology Co., Ltd.
A broken latch on a Civic sensor connector can make the replacement look like a simple purchase: match the photograph, count the cavities and order a plug. The difficult part is establishing whether that plug belongs to the same component, harness branch and terminal system. Honda automotive connectors cannot be selected reliably from the vehicle badge alone. A connector that looks close may latch differently, use a different contact or assign the same cavity to another circuit. This guide explains how to identify an automotive connector for Honda repairs, compare a housing with a repair pigtail, and decide which terminals and seals need replacement before the vehicle returns to service.
The right match combines the vehicle application, the connector reference in the relevant wiring information, and the exact housing, mating part and terminal specifications. Start with the vehicle identification number and component location, then confirm the drawing view and cavity numbering. Honda’s Service Information System is the appropriate starting point for vehicle-specific procedures. Connector test guidance such as IEC 60512-1:2018 helps define verification methods, but it does not establish a universal Honda pinout or prove that an aftermarket housing fits. Physical fit and electrical assignment require separate checks.
What information identifies the Honda connector before ordering?
Record the model year, model, market, engine or powertrain and the component being connected. Add the VIN when requesting a part lookup. A description such as “Civic front sensor plug” leaves too much room for a different sensor, production revision or market harness. Honda Civic automotive connectors should be tied to an actual circuit and installation position rather than assumed interchangeable across generations.
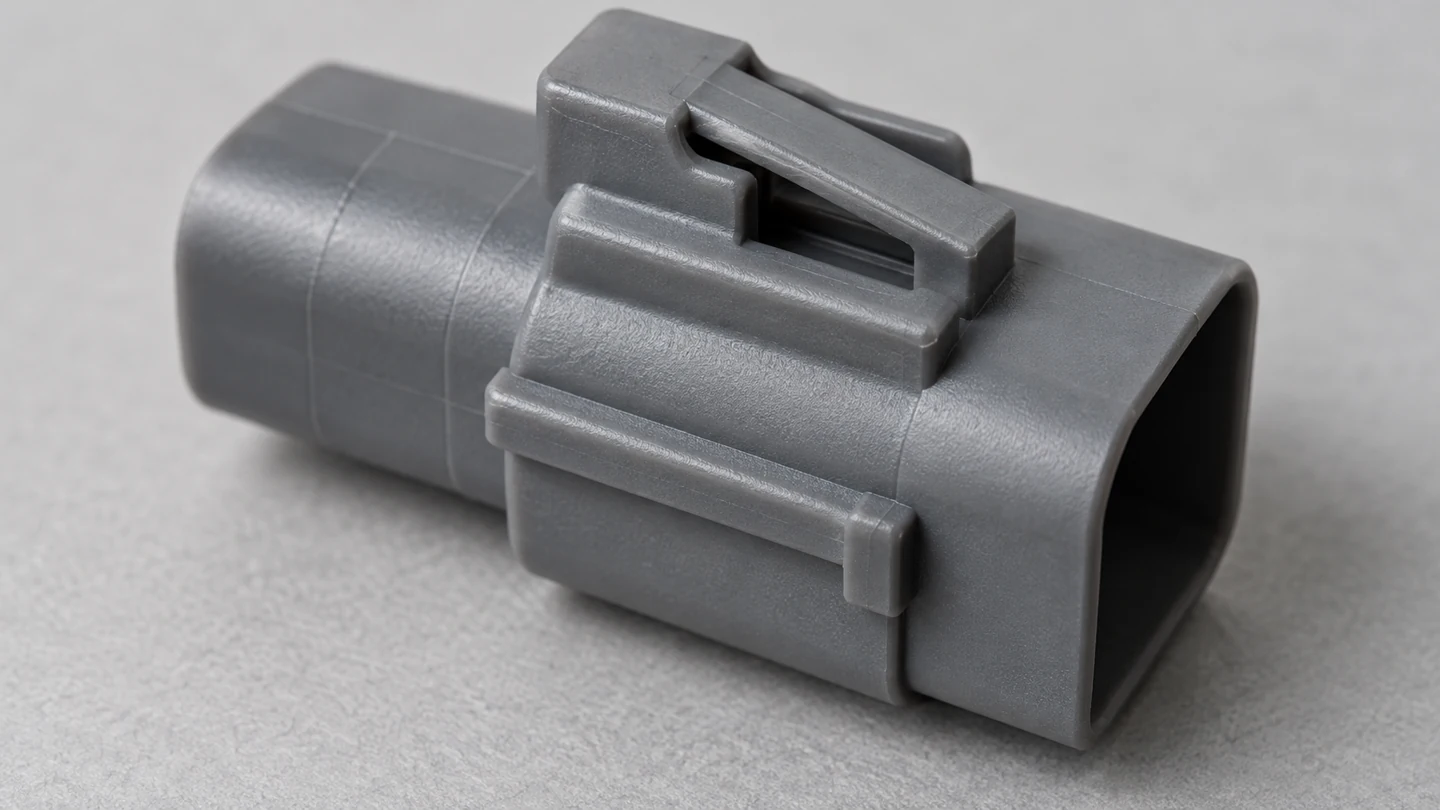
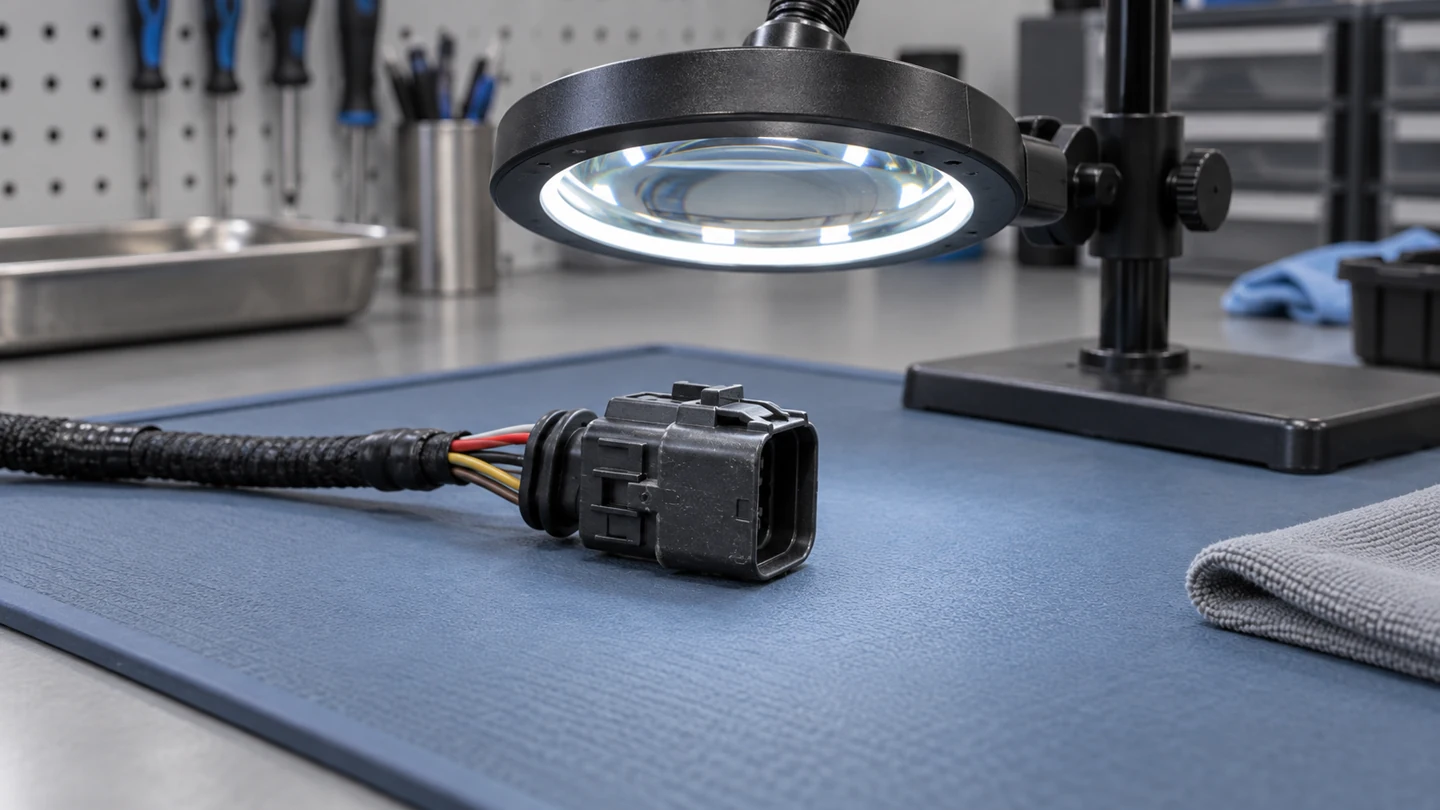
Photograph the mating face, wire-entry side and latch without forcing the connector apart. Record any molded marking exactly, including prefixes and suffixes. A molded mark may identify a housing manufacturer or tool rather than a complete Honda service part number. Compare it with the service reference and the mating component before treating it as an orderable replacement. Honda’s DreamShop parts channel can support vehicle-specific parts inquiries; a photograph remains supporting evidence rather than a substitute for that application check.
Which physical details confirm the Honda connector match?
Check the cavity arrangement, external keying, latch position, terminal interface and seal design. Matching the number of cavities only narrows the search. The mating drawing should also establish whether the image is viewed from the terminal face or wire side. Reversing that viewpoint can make an apparently orderly repair electrically wrong.
| Identification clue | What it helps establish | What still needs confirmation |
|---|---|---|
| Vehicle and component location | The applicable circuit and service information | Production or equipment variations |
| Housing mark and cavity layout | A candidate connector family | The exact service part and mating reference |
| Latch and external keys | Mechanical orientation | Contact interface and full engagement |
| Wire colors | A useful cross-check against the diagram | Cavity numbers and actual circuit function |
Use the same discipline when checking automotive connector pinouts. Wire color alone is insufficient when an earlier repair has changed the pigtail or wire identification.
Should the repair use a housing, a terminal kit or a pigtail?
A housing-only repair can preserve the original wires when contacts, retention features and seals remain serviceable and the approved procedure permits transfer. A terminal repair addresses damaged contacts or wire terminations. A pigtail replaces the connector and a short section of wire, introducing splice locations that must be installed and supported correctly. None is automatically the best option for every failure.
| Repair option | Useful when | Decision that must be resolved |
|---|---|---|
| New housing | The shell or latch is damaged but the retained components pass inspection | Whether terminals can be released and reused under the service procedure |
| Terminal and seal repair | Damage is limited to a documented, serviceable contact position | Correct contact, wire range, seal and crimp tooling |
| Repair pigtail | The connector and adjacent wire need replacement | Splice method, conductor condition and routing space |
| Harness or assembly replacement | Damage extends beyond a local repair or the application restricts repair | Vehicle-specific replacement and verification instructions |
An aftermarket part should be assessed against the same evidence. “Fits Honda” is an application claim requiring a precise vehicle and component reference, not proof of OEM approval. A replacement that needs its locating key shaved off has failed the mechanical matching check.
When are new terminals and seals needed?
Inspect contact surfaces, retention features, wire strands and the insulation where it enters the seal. Heat damage, corrosion or distorted contact geometry calls for a repair decision based on the affected system, not cosmetic cleaning. A connector may need more extensive replacement if corrosion has progressed along the conductor or damaged the mating component.
The Sumitomo Wiring Systems components catalog lists housings, terminals, wire seals and dummy plugs separately. That distinction is useful when assessing Honda automotive electrical connectors: the correct housing does not automatically include the correct contact or sealing components, nor does the catalog establish a particular Honda application. Terminal selection also depends on the documented conductor and insulation ranges, not just a familiar wire-gauge label.
How should a repaired Honda connector be checked?
Preserve the cavity map before removing contacts. Follow the appropriate power-down and repair procedure, then verify terminal seating, secondary retention, seal placement, latch engagement and harness support. Where the service procedure calls for electrical checks, use its method and limits. A continuity indication alone does not establish acceptable contact behavior under the intended operating load.
For procurement, request the mating reference, terminal and seal list, approved wire ranges and relevant assembly documentation before approving samples. ZUCH’s connector catalog can support a component inquiry, but Honda fitment must be established for the exact application. This article does not claim Honda authorization or universal interchangeability for a catalog product.
Frequently asked questions
How do I identify a Honda automotive connector?
Use the VIN, component location and relevant wiring information first. Match the connector reference to housing markings, cavity layout, keying and the mating component, keeping the diagram viewpoint consistent.
Can I use an aftermarket connector for a Honda repair?
It may be suitable if the exact application, contact system, wire range, sealing arrangement and repair procedure are verified. A marketplace fitment label or similar photograph is insufficient evidence.
How do I match a Honda connector to the vehicle year and model?
Supply the model year, VIN, market, powertrain and component position to the parts or service-information lookup. Confirm any production or equipment distinction before ordering.
Are Honda Civic electrical connectors interchangeable?
There is no general interchangeability rule. Different generations, components and equipment packages can use different housings or pin assignments. Verify the exact part and application.
What is the best way to replace a damaged Honda connector?
Determine the extent of damage and follow the vehicle-specific procedure. Choose a housing, terminal repair, pigtail or larger assembly according to that assessment, then verify the repair electrically and mechanically.
Do Honda connector repairs need new terminals and seals?
Replace damaged components and anything the applicable procedure identifies as single-use. Reuse requires confirmed serviceability and permission under the relevant repair instructions.
References
- American Honda Service Information System — vehicle-specific service information; access may require a subscription.
- Honda DreamShop — official parts and vehicle-application inquiry channel.
- Sumitomo Wiring Systems automotive components catalog — separate housing, terminal and seal identification.
- IEC 60512-1:2018 — connector test and measurement framework, not a Honda fitment standard.
What should be confirmed before the replacement is approved?
A successful Honda connector repair starts with the vehicle circuit and ends with a verified assembly. Confirm the application and connector reference first, check the shell and mating interface next, and then select the contacts, wires and seals as a compatible set. Choose the repair scope only after inspecting the removed components and the mating part. A familiar shape, matching wire colors or a latch that closes cannot replace a confirmed cavity map and the applicable service procedure. For a repeat purchase, retain the accepted sample reference and component list so the next order does not restart from a photograph. ZUCH can review a documented connector inquiry through its published product range, while the vehicle-specific fitment decision remains tied to the relevant Honda information and the actual installation.