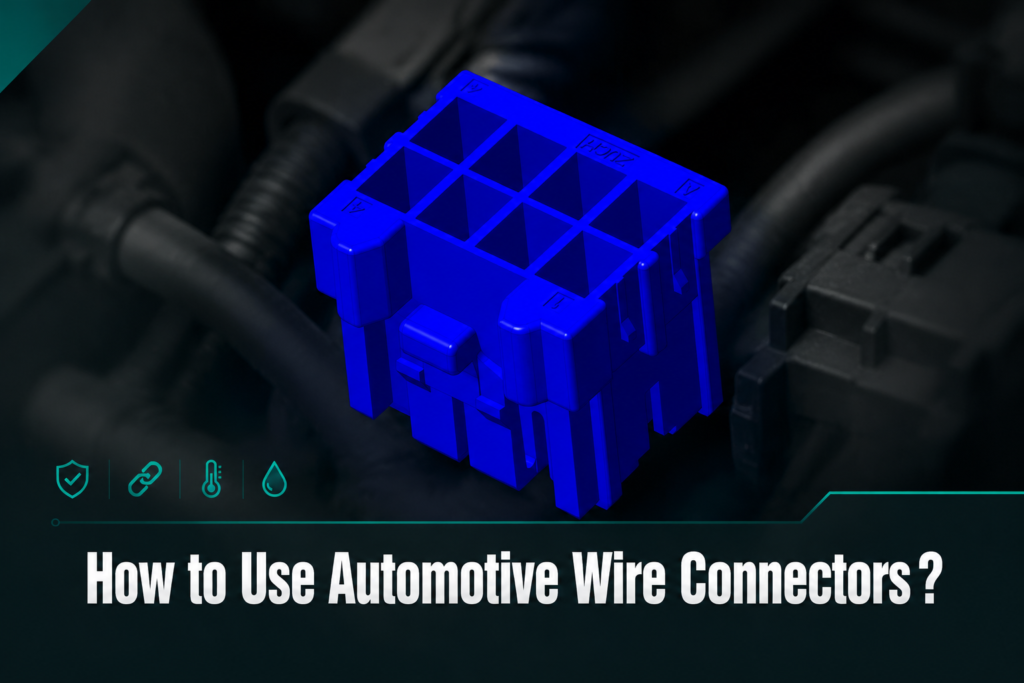
How to Use Automotive Wire Connectors?
Automotive wire connectors are little pieces of the puzzle when it comes to getting electrical signals from one place to another, via wires, inside an automobile. Without automotive wire connectors, there would be no solid electrical signal to the various electrical systems in an automobile. As a result, knowing how to effectively use these types of connectors is important to having a solid and functioning electrical connection. This article provides you with the general information you need about automotive wire connectors including the types, uses, applications, and why they are such an important component in the automotive world.
Quick Answer: How Do You Use Automotive Wire Connectors?
Quick Answer: Match the connector and terminals to the wire size, mating interface, electrical duty, and operating environment. Disconnect power, make a clean strip without nicking conductors, position the wire and insulation in their intended crimp zones, use the specified crimp tool, and inspect the finished joint before restoring power. A continuity check confirms the circuit path, but it does not replace visual and mechanical inspection of the crimp, seal, terminal lock, and connector latch. Different automotive wire connector types require their own termination and release methods.
What Are Automotive Wire Connectors?
Automotive wire connectors are specially designed pieces for connecting two or more wires together in your vehicle. Automotive wire connectors can be thought of as circuits’ bridges between two or more wires allowing electrical current to flow between them. Automotive wire connectors are found throughout the vehicle where there is an electrical system including engine systems and lighting systems, and they are critical to making sure that all of the components communicate together correctly and reduce the likelihood of short circuits or electrical failure. The best automotive wire connector for the job is the one that matches the circuit and installation requirements.
Wire connectors vary in design to accommodate specific applications for connecting wires in an automobile. Examples of the type of automotive wire connectors include, but are not limited to, butt connectors, terminal connectors, heat shrink connectors, and quick-disconnect connectors. For a serviceable multi-pin connection, the housing, terminal, seal, secondary lock, and mating half must work as one compatible system. For an inline repair, the splice method also needs to suit the installation environment and the vehicle maker’s repair instructions.
Getting Started with Automotive Wire Connectors
Using automotive wire connectors is not as hard as it may sound. The steps outlined below will help you to connect wires to each other properly in your automobile:
1. Choose the Proper Size, Shape, and Type of Automotive Wire Connector
The first thing to do is to determine which type of connector you will need to create your desired circuit. There are a number of factors to take into consideration when determining what kind of connector should be used: the size of the wire, the environment the wire will be subject to (for example, temperature conditions or exposure to humidity), and the electrical duty the connector must handle. Heat-shrinkable connectors may be selected where the approved repair method requires an environmental seal, whereas disconnectable terminals and housings are used when a serviceable interface is needed.
2. Strip the Wire Ends
Once you have selected the proper size of connector for your application, the next step will be using a wire stripping tool to strip the insulation off the ends of each of the wires. Care must be taken not to cut into the actual wire so as not to damage its integrity; this could weaken your connection. Follow the terminal or splice supplier’s strip-length drawing rather than estimating by eye.
3. Insert the Wires into the Connector
After the ends of the wires have been properly stripped and you have stripped enough of the wire that they will fit snugly into the connector, you will need to place each individual wire into one end or the other of the connector. In the case of butt connectors, there will be a separate end for each of the wires, while there may be a crimping area or areas in quick-disconnect connectors for individual and secure crimping of the wires. On open-barrel automotive terminals, make sure the conductor and insulation support wings align with the parts of the wire they are designed to grip.
4. Crimp the Connector to the Wires
Once the wires have been installed into the connector as outlined above, use a crimping tool to properly compress the connector to the wires. It is important to apply the specified compression with a tool and die intended for that terminal rather than relying on force alone. A properly formed crimp provides a stable electrical and mechanical connection without cut strands, loose wings, or damaged insulation. For more detail on tool setup and inspection, see how to crimp automotive connectors.
5. Verify You Still Have an Electrical Connection
Once the connector has been secured as described in the previous steps, use a multimeter or continuity tester to verify that there is an electrical connection between the wires and that the intended circuit path is present. Make the check with power isolated and follow the vehicle service procedure. Do not treat a continuity tone as proof that terminal retention, sealing, current capability, or strain relief is correct.
6. Protect the Connection
To add more durability and assurance, protect the connection with the sealing and strain-relief method specified for the connector or repair. Moisture, corrosion, vibration, and harness movement are better controlled when the seal, terminal lock, housing latch, and wire support are all correctly assembled. Electrical tape alone should not be used to disguise an incorrect crimp or an incompatible connector.
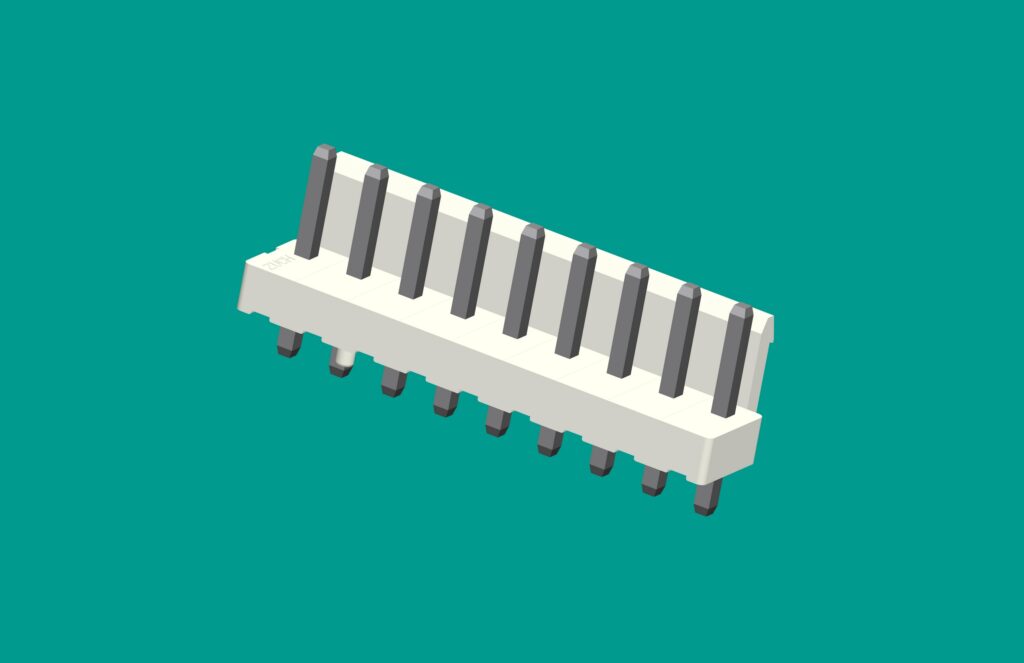
Automotive Wire Connector Installation and Quality Checklist
Use the drawing and instructions for the exact connector system whenever they are available. The checklist below is a practical final review, not a substitute for the vehicle maker’s repair procedure or the terminal supplier’s crimp specification.
| Check |
What to verify |
Common warning sign |
| Connector selection |
Housing, terminal, wire, seal, mating half, and environment are compatible. |
Parts fit only with force, or the terminal and seal are from unrelated systems. |
| Wire preparation |
Strip length follows the applicable drawing; strands are clean and undamaged. |
Nicked, cut, missing, twisted-out, or excessively exposed strands. |
| Crimp formation |
Conductor and insulation support are formed in their intended zones with the specified tool. |
Loose wings, flattened terminal geometry, split insulation, or an off-center crimp. |
| Terminal retention |
The terminal is fully seated and retained; any secondary lock is correctly closed. |
The terminal backs out during a light retention check or the lock will not close. |
| Seal and routing |
Seals are undamaged and seated; the harness has strain relief and avoids heat, sharp edges, and moving parts. |
Pinched seal, taut wire, unsupported splice, or rubbing against a bracket. |
| Electrical check |
The intended circuit has continuity, no unintended short is present, and the repair behaves correctly after reassembly. |
Intermittent reading, excessive movement at the joint, warning light, or heat at the connection. |
| Documentation |
Part identity, wire position, tool, and inspection result are recorded when the job requires traceability. |
Mixed parts or an unrepeatable process with no installation record. |
IPC/WHMA-A-620 describes acceptance requirements for cable and wire-harness assemblies. It is an assembly workmanship standard, not a blanket product certification for every automotive connector or repair. Acceptance criteria must still be matched to the contract, vehicle requirements, component documentation, and intended use.
4 Areas of Automotive Wiring That Use Connectors
1. Engine and Powertrain
Wire connectors assist with communication between the engine control unit (ECU), sensors, and actuators, thus solidifying all electrical connections to support engine operation. Connector choice and routing must account for the actual under-hood environment and the applicable vehicle design requirements.
2. Lighting System
All lighting functions (headlights, taillights, and interior lights) depend on proper wire connectors. If these connections are not solid, there is a safety risk associated with inoperable lights. Therefore, these wires must have a secure connection.
3. Infotainment and Navigation Systems
Modern automobiles are often equipped with an entertainment system, navigation system, and other electronic systems. Without quality wire connectors, connectivity could become unreliable and user experience would suffer.
4. Sensors and Safety Systems
Airbag, anti-lock brake, and other safety systems rely on wiring with sensors. If you experience issues with your automotive wires, this could put safety features at risk due to poor connections. Work on safety-related circuits should follow the vehicle maker’s isolation, handling, diagnostic, and repair procedures; when in doubt, use a qualified technician.
Things You Can Do To Help Get Your Car Together If You Want To Use Automotive Wire Connectors
More tips to ensure a positive experience:
- Use compatible connectors: A well-made component still needs to match the mating half, terminal, seal, wire, and application. If an existing cavity or terminal is damaged, review how to depin an automotive connector without harming the housing.
- Make connections in a brightly lit, clean area: Clean working conditions make strand damage, incorrect wire position, bent terminals, and seal problems easier to see.
- Have the correct tools available: A suitable wire stripper, terminal-specific crimp tool, approved extraction tool, and electrical test equipment help make the process repeatable. A heat gun should be used only when the approved connector or repair includes heat-shrink material.
- Replace damaged components: Do not hide corrosion, heat damage, loose retention, or a deformed cavity. Use the vehicle and connector documentation to determine whether the terminal, seal, housing, or harness section requires replacement. See this guide on how to fix automotive electrical connectors for a structured inspection approach.
Frequently Asked Questions Regarding Automotive Wire Connectors
What is the best way to join automotive wires?
The best method is the repair method approved for the vehicle, circuit, wire, and environment. That may be a compatible terminal-and-housing connection or a specified sealed splice made with the correct preparation and tooling. After assembly, inspect retention and sealing and perform the electrical checks required by the service procedure.
Is it better to crimp or solder automotive wiring?
There is no universal answer: follow the vehicle maker’s repair instructions and the component supplier’s requirements. A controlled crimp provides mechanical support and a repeatable joint when the terminal, wire, applicator, and inspection criteria match; solder should be used only where the approved procedure calls for it, because an uncontrolled soldered joint can create a stiff transition or conceal poor preparation.
How to crimp wire connectors in automotive?
Select a compatible terminal and wire, strip to the specified length, place the conductor and insulation in their intended crimp zones, and use the tool and die specified for the terminal. Then inspect the crimp, confirm terminal retention and seal placement, and test the circuit as required. Avoid generic pliers, unverified die settings, and accepting a joint only because it passes continuity.
What is the best way to connect three automotive wires together?
Use an engineered branch or splice method approved for that circuit and sized for all participating wires; do not force three wires into a connector intended for a different configuration. The joint must control conductor placement, mechanical support, insulation, sealing, and harness routing. If no approved branch repair is documented, consult the vehicle maker or a qualified harness supplier before proceeding.
What are the common problems with wire connectors?
Common problems include mismatched parts, incorrect strip length, cut strands, poor crimp formation, terminal back-out, unlatched housings, damaged seals, corrosion, heat damage, and inadequate strain relief. Intermittent faults can also arise when a connection passes a stationary continuity check but fails under vibration or harness movement. Inspect the complete connector system rather than replacing only the most visible part.
How to install automotive wire connectors?
Disconnect power according to the service procedure, identify every wire position, prepare the wire, crimp the correct terminal, insert it until fully retained, close any secondary lock, and mate the connector until the latch engages. Verify seals and routing, then perform the specified electrical and functional checks. For sourcing replacement parts, compare the full interface and documentation rather than appearance alone; this guide explains where to buy automotive electrical connectors.
The use of automotive wire connectors is one of the most important steps you can take to improve the reliability of your vehicle’s electrical system. Each step involved in choosing the right connector and ensuring it is secured has a positive effect on the vehicle’s performance, safety, and durability. Whether you are working with the engine harness, the vehicle’s lights, or upgrading your stereo system, if you follow a documented and inspectable process you will be on the right track to achieving a successful solution. Understanding the role connectors play in various systems will give you a greater advantage in completing any wiring project.
ZUCH supports connector selection discussions with product information and sourcing communication. If you are evaluating a connector for a new harness or a documented repair program, review the ZUCH product range and contact the team with the mating interface, wire details, environment, and application requirements so compatibility can be assessed before ordering.
References and Further Reading
 Zhejiang ZUCH Technology Co., Ltd.