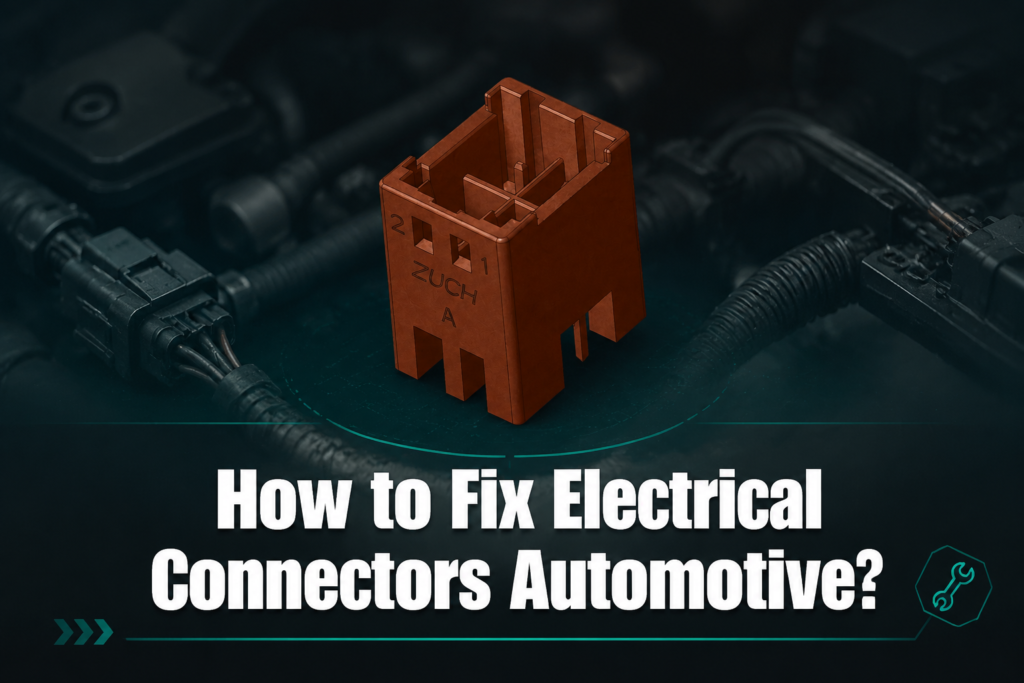
How to Fix Electrical Connectors Automotive?
Quick answer: To fix an automotive electrical connector, first de-energize the circuit and identify the connector and its terminal family. Inspect the housing, lock, seal, pins, terminals, and nearby wire; then clean only light contamination with a compatible electrical contact cleaner and repair or re-pin terminals that remain mechanically sound. Replace a connector when the housing is cracked, melted, carbon-tracked, badly corroded, unable to retain a terminal, or repeatedly loses the signal. Always follow the vehicle manufacturer’s service information, especially for high-voltage, airbag, and other safety-critical circuits.
To effectively repair an electrical connector for an automotive electrical system, it’s crucial to understand the importance of a properly functioning automotive electrical connector. These connectors are responsible for transmitting signals and power throughout your entire vehicle, while providing a means for each electronic component to interact with one another. Corrosion, wear and tear, and improper handling can cause automotive electrical connectors to degrade or even become unusable. This article will guide you through how to properly repair an automotive electrical connector and provide tips for maintaining their functionality over time.
Significance of Automotive Electrical Connectors
Automotive electrical connectors play an essential role in automotive electrical systems. They secure electrical wires, protect the wiring from damage, prevent short circuits, and enable communication between electronic components such as lights, sensors, and control modules. Failures in these connectors can lead to component malfunction, intermittent issues, and even unsafe vehicle operation. Identifying and resolving connector failures promptly is crucial for ensuring safety and saving repair costs. Where contamination is the cause, cleaning automotive electrical connectors may be part of the repair; damaged contacts need a different remedy.
Before You Repair: Safety and Inspection Checklist
Turn the ignition off, secure the vehicle, and follow the vehicle manufacturer’s power-down procedure before disconnecting a connector. High-voltage EV systems, airbag/SRS circuits, pretensioners, and other pyrotechnic circuits require system-specific isolation and trained personnel. Do not probe an energized connector or pull on wires.
| What to check |
What it can reveal |
Next action |
| Housing, keying, latch and secondary lock |
Cracks, heat damage, a broken lock or incorrect mating |
Replace the housing or use the correct repair procedure; never force the halves together. |
| Terminals and pins |
Corrosion, pitting, bent pins, backed-out or spread contacts |
Clean only light surface contamination; replace or re-pin damaged terminals. |
| Wire, insulation and crimp |
Fraying, exposed copper, corrosion wicking into the crimp, or strain |
Repair the wire with the correct terminal and crimp method, or replace the affected section. |
| Seal, cavity plug and harness routing |
Water or fluid entry, missing plugs, chafing or unsupported weight |
Restore the seal and routing and correct the source of contamination before reassembly. |
| Electrical symptom |
Intermittent signal, open circuit, short, or voltage drop |
Test the circuit and connector together; do not assume the connector is the only fault. |
Step-by-Step Guide to Repairing an Automotive Electrical Connector
The following automotive connector repair steps will help you repair a defective electrical connector for your vehicle. If the terminal must be removed from its housing, use the correct release tool and follow the keying and cavity layout; this guide to removing a wire from a push-in automotive connector explains why forcing a terminal can damage both the lock and the contact.
1. Inspect the connector and wiring
Before attempting repairs, perform a visual inspection to assess the connector’s condition. Look for:
- Corrosion or oxidation on the metal terminals.
- Broken, bent, or loose pins inside the connector housing.
- Frayed or exposed wires near the automotive electrical connector.
- Cracked or melted plastic, damaged seals, missing cavity plugs, and a latch that does not lock.
Photograph the connector orientation and mark the wire positions if there is any chance of confusion. If you identify any of these issues, carry out the necessary corrective actions or replace the affected components as needed.
2. Clean light contamination on terminals
Corrosion is a common culprit behind electrical issues. First remove loose dirt with a clean, soft brush. For light contamination, use a purpose-made electrical contact cleaner whose label or technical data confirms compatibility with the connector’s plastics, seals, coatings and nearby materials. Apply it in a controlled way and allow complete evaporation according to the product instructions. A mixture of baking soda and water or an abrasive brush is not a universal connector repair: residues, moisture and abrasion can damage plating or seals, so use household mixtures only when the relevant manufacturer specifically permits them.
For stubborn corrosion, do not scrape aggressively or use a metal pick. Deep pitting, missing plating, green corrosion in the crimp or corrosion that returns after cleaning indicates that the terminal, seal, wire or housing needs repair or replacement.
3. Repair or replace damaged pins and terminals
If pins are only slightly misaligned and the terminal still has its original plating and contact force, carefully realign them with the specified tool. Do not bend a terminal repeatedly. Replace the connector housing if the damage is severe, and use the exact terminal, seal, wire size, cavity position and release tool specified for that connector family. Automotive electrical connector replacement kits can simplify this process when the parts match the original design.
When a terminal must be crimped, a controlled crimp is normally preferred to twisting or soldering a repair into a vibration-prone harness. See how to crimp automotive connectors for the relationship between terminal choice, wire preparation and crimp inspection.
4. Reassemble and test the connector
After cleaning or replacing parts, align the keyed halves, seat the primary latch and engage any secondary lock without forcing it. Reconnect the circuit only after the cleaner has evaporated and the cavity is dry. Test continuity, supply voltage, ground and the affected function with a suitable meter or scan procedure. A continuity result alone does not prove that a terminal can carry the required load; investigate voltage drop or signal quality when the service information calls for it.
5. Upgrade or replace aging connectors
In older vehicles, upgrading to newer connectors can be beneficial when the replacement is a compatible, correctly rated design. Modern automotive wire connectors may offer improved insulation and corrosion resistance compared with an aged or damaged part, but a replacement should be selected by interface, terminal, sealing and circuit requirements—not by appearance alone. For sourcing and specification questions, see where to buy automotive electrical connectors and automotive electrical connectors OEM.
Repair or Replace? Decision Boundaries
Repair is reasonable only when the connector remains mechanically sound and the affected contact can be restored to the connector manufacturer’s intended geometry and retention. Use the following boundary as a practical inspection aid:
| Estado observado |
Preferred decision |
Reason |
| Loose dust or light residue; terminals bright, aligned and retained |
Clean, dry and test |
Contamination may be removed without changing contact geometry. |
| Minor oxidation with intact plating and a good seal |
Follow the OEM procedure; clean gently and reinspect |
Repeated oxidation still requires finding the moisture or fluid path. |
| Bent but undamaged terminal, with normal retention after correction |
Correct once with the specified tool and verify |
Repeated bending can weaken the spring and cause intermittent contact. |
| Deep corrosion, pitting, missing plating, loose or spread contact |
Replace or correctly re-pin |
Cleaning cannot restore contact force or the plated surface. |
| Cracked, melted, charred or carbon-tracked housing; broken latch or seal |
Replace the housing/connector and diagnose the cause |
Insulation, sealing and terminal retention may be permanently compromised. |
| Frequent signal loss after a previous clean or repair |
Stop repeated cleaning; diagnose and replace affected parts as required |
Intermittent faults can come from wiring, load, routing or an unresolved ingress path. |
When to Replace Automotive Connectors
There are situations where repairing a connector is insufficient, and replacing it is a better option. Major corrosion may prevent proper conductivity even after cleaning. Cracks or damage to the connector housing can expose internal components to environmental elements. Frequent electrical interruptions may indicate compromised structural integrity or a high-resistance terminal. In each case, replace the affected parts and correct the underlying cause rather than installing a new connector into the same leak, heat, overload or routing problem.
FAQs on Automotive Electrical Connectors
Crimping vs Soldering for Automotive Wiring: Which is Best?
Crimping is often preferred for automotive wiring as it creates a secure mechanical and electrical connection without exposing wires to heat, which can damage insulation or seals. A soldered joint can be useful where the vehicle or connector manufacturer specifies it, but a solder-only joint may become less tolerant of vibration and flexing. Use the terminal, wire size and approved tooling specified for the harness rather than choosing by convenience.
How to Test Electrical Connectors in Automobiles?
Use the vehicle service information and a suitable multimeter or scan tool to test continuity, supply, ground, voltage drop or signal quality. Disconnect the connector when required and test both sides for proper transmission. Compare the result with the circuit’s specified test method; a generic resistance number is not valid for every sensor, data bus, light or motor.
How to Identify a Faulty Automotive Connector?
Signs of a faulty connector include flickering or malfunctioning lights, intermittent electrical issues, erratic system performance, and visible damage such as corrosion, cracks, heat deformation or a loose latch. Confirm the fault with circuit testing before replacing parts, because a damaged wire, ground or component can create similar symptoms.
How do I fix a broken electrical connector on my car?
De-energize the circuit, identify the connector and document the wire positions. Inspect the housing, locks, seals, terminals and wire crimp. Clean only compatible light contamination; replace a broken latch, cracked or melted housing, pitted terminal, damaged seal or corroded wire instead of gluing or forcing it. Reassemble with the correct secondary lock and verify the circuit using the vehicle’s service procedure.
How to re-pin automotive connectors?
Record the cavity layout, release the secondary lock, and use the correct terminal-removal tool without pulling the wire. Match the replacement terminal, seal, wire size and cavity keying, then make the specified crimp and check terminal retention before reinserting it. Follow the connector or vehicle repair manual; the related guide on how to re-pin automotive connectors explains why terminal families and tooling must match.
How to assemble automotive electrical connectors?
Confirm the correct housing, terminals, seals, cavity plugs and keying. Insert each terminated wire into its documented cavity until the terminal locks, perform a gentle retention check, install the secondary lock and verify that the seal and strain relief are seated. Mate the two halves without force and confirm the latch is fully engaged before testing the circuit.
Can I fix car electrical problems myself?
Some low-voltage inspection, cleaning and terminal replacement can be completed by a person with the right documentation, tools and electrical safety knowledge. Stop and use trained personnel for high-voltage EV systems, airbag/SRS, pretensioners, pyrotechnics, unfamiliar circuits, melted wiring or a fault that remains after basic checks. Never guess at a power-down sequence or bypass a safety lock.
How can I tell whether a connector should be repaired or replaced?
Repair or clean when contamination is light and the housing, plating, terminal geometry, seal and retention remain sound. Replace or re-pin when there is deep corrosion, pitting, missing plating, a spread or loose contact, a broken latch, damaged seal, cracked or heat-damaged housing, corrosion in the crimp, or a recurring fault. The decision should restore the original mechanical and electrical function, not merely make the connector look clean.
What should I check after repairing an automotive connector?
Check that the cavity positions, terminal retention, primary latch, secondary lock, seals and harness routing are correct. Confirm that no cleaner or moisture remains, then perform the specified continuity, voltage, ground, voltage-drop, signal or diagnostic tests and operate the affected function. Recheck for movement-related intermittent faults when the service procedure requires it.
Tips to Prevent Future Connector Issues
To minimize the chance of future automotive electrical connector problems, follow these tips:
- Apply dielectric grease only where the connector or vehicle manufacturer specifies it; it is a moisture barrier, not a substitute for metal-to-metal contact.
- Conduct condition-based inspections after water, salt, fluid or collision exposure and clean as needed.
- When disconnecting connectors, grip the housing and release the lock instead of pulling wires.
- Replace worn or damaged connectors, seals and wires promptly and restore the original harness support.
- Correct the leak, heat, overload, chafing or strain that caused the failure before fitting a replacement.
Maintaining and repairing automotive electrical connectors is an indispensable task that helps save time and money by addressing issues promptly. Cleaning corrosion, repairing damaged pins, or using a multimeter for testing are all effective steps for maintaining the reliability of your vehicle’s electrical system. If a connector cannot be repaired, it’s best to replace it to prevent further complications. Taking proactive care of your vehicle ensures better functionality and safety in the long run.
References and Further Reading
Reference sources used in this article: The links below provide public technical and workmanship guidance for further verification.
 Zhejiang ZUCH Technology Co., Ltd.