How to Depin Automotive Connector?
Quick Answer: To depin an automotive connector safely, disconnect the circuit, document each wire position, identify the primary and any secondary lock, release the terminal’s retention tang with the correct extraction tool, and pull the wire straight back without forcing it. Stop if the terminal does not move with light tension: the lock may still be engaged, the tool may be the wrong shape, or a seal or secondary retainer may still be holding the terminal.
The importance of connectors in an automotive electrical system becomes clear whenever several wires must be grouped into one physical assembly while maintaining independent electrical paths. There are many reasons to depin an automotive connector, including repairing defective wiring, replacing a damaged connector housing, or changing an electrical configuration. Knowing how to depin a connector is therefore a useful skill for people who work on automotive wiring, but the correct method depends on the connector’s retention design.
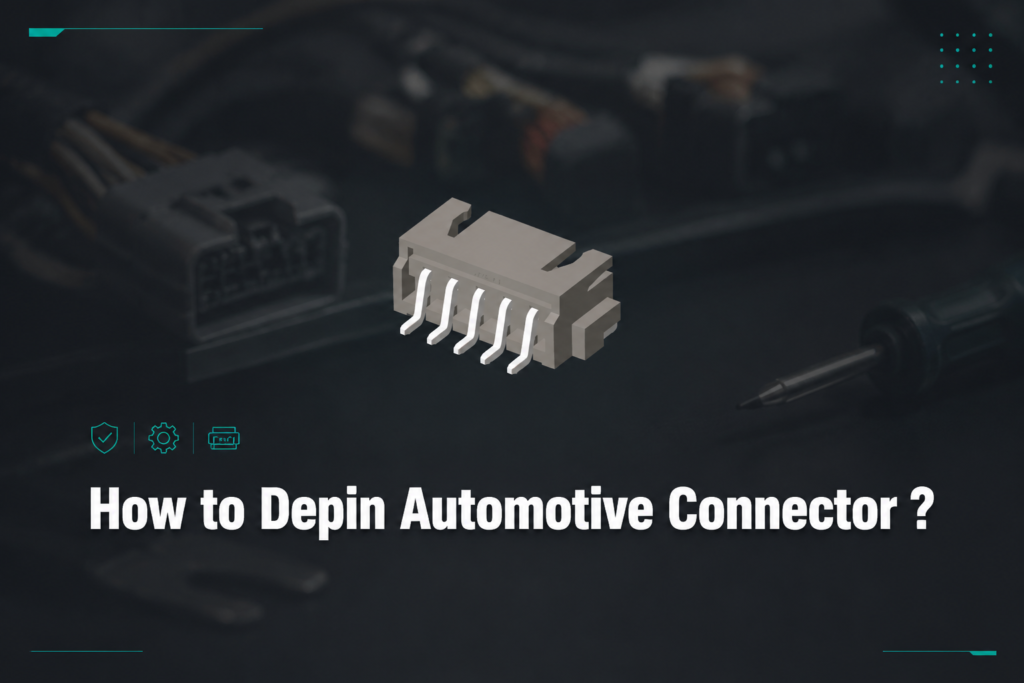
What Is Depinning and Why Is It Necessary?
Depinning is the act of removing an individual wire and terminal from an automotive connector housing. Common reasons include replacing defective wiring, changing a damaged housing, and correcting a circuit configuration. It allows the affected wire or terminal to be serviced without cutting off the entire connector assembly.
Care matters because the terminal, its locking lance, the housing cavity, seals, and any secondary lock form one retention system. Damage to any of these parts can create poor terminal seating, intermittent contact, or future back-out. Before work begins, disconnect power as directed by the vehicle or equipment service information, photograph the connector faces, and record the cavity position and wire color. Do not rely on memory when several wires look alike.
Automotive Connector Types and Pin Retention
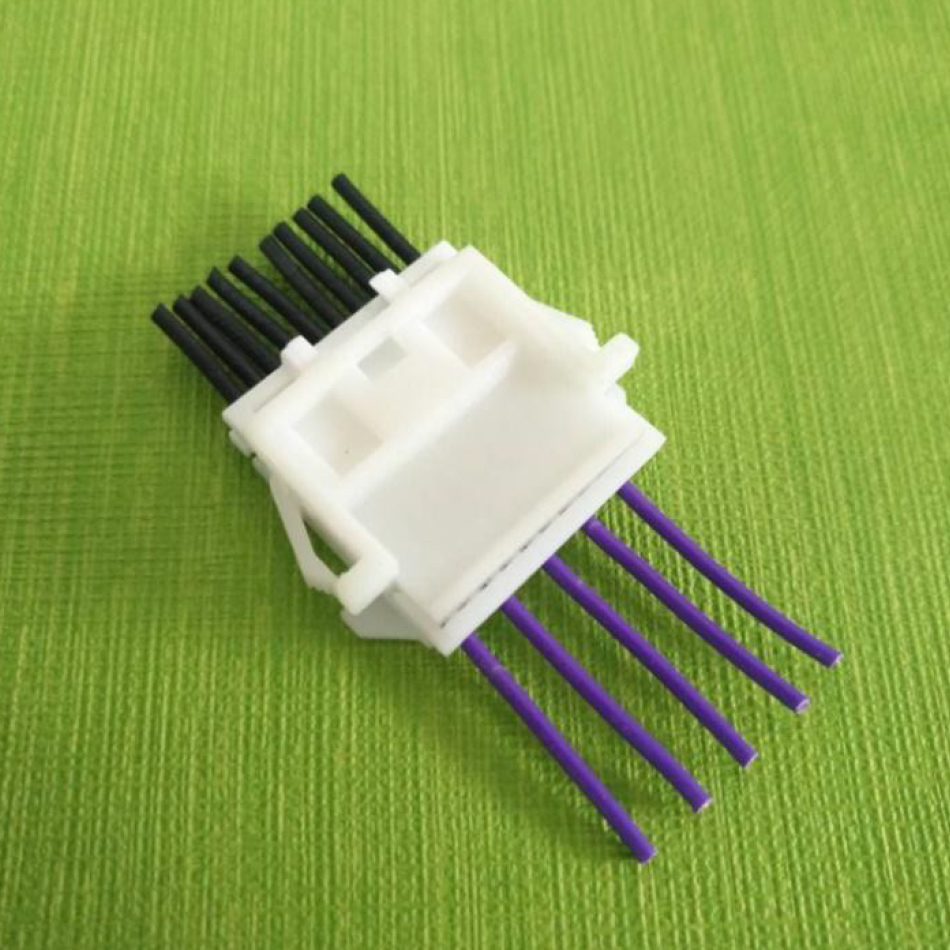
Automotive connectors differ in how their terminals are retained. The original connector categories below remain useful as a visual starting point, but the service manual or connector manufacturer’s instructions should decide the actual release method:
- Blade connector: Uses a flat metal blade or receptacle and is commonly used for power or signal circuits. The terminal may have a primary locking lance plus a secondary retainer.
- Round connector: Uses circular pin-and-socket contacts and is often found on signal wiring. Extraction tools must match the cavity and contact geometry.
- Terminal block: May retain conductors with screws, clamps, or removable terminals. A screw- or clamp-retained conductor is released differently from a crimp terminal locked inside a molded cavity.
- Locking-tab connector: Uses a small tab or lance to retain the terminal. This arrangement may also appear in sealed connectors with additional seals and secondary locks.
Knowing which connector and retention style you are working with determines the tool, access direction, and safe amount of force. For broader connector identification guidance, see waterproof automotive wire connectors.
Choose the Tool and Decide Whether to Proceed
A purpose-made automotive connector depinning tool is normally the safest choice because its blade or tube is shaped to reach the retention feature without widening the cavity. Light-duty flat-blade screwdrivers and needle-nose pliers may help in limited situations, but they are not universal substitutes for an extraction tool. Pliers should pull only on a terminal or wire when the retention feature has already been released; they should not be used to overcome a locked terminal.
| What you observe |
Likely requirement |
Recommended action |
Do not proceed when |
| Visible secondary lock or terminal position assurance device |
Secondary lock must be moved to its service position before the terminal lance is released |
Follow the connector drawing or service instructions and note the lock’s original position |
The lock’s direction of travel is unclear or plastic begins to deform |
| Flat blade terminal in a rectangular cavity |
Correct-width flat extraction blade |
Insert from the specified side, depress the locking feature, and apply light rearward wire tension |
The blade scrapes or spreads the cavity walls |
| Round pin or socket contact |
Correct-diameter tubular or connector-specific tool |
Center the tool and release the retaining fingers before withdrawal |
The tool does not seat concentrically around the contact |
| Sealed cavity with a wire seal |
Retention release without cutting, stretching, or dislodging the seal |
Inspect the seal after removal and replace it if the specified inspection criteria are not met |
The seal is torn, swollen, hardened, displaced, or its reuse status is unknown |
| No verified connector identification |
Service information, a connector drawing, or supplier guidance |
Pause and identify the housing and terminal family before selecting a tool |
More force seems to be the only way to move the terminal |
How to Depin an Automotive Connector
Use the following sequence as a general method. Connector-specific documentation takes priority because access direction, secondary-lock operation, and terminal-release geometry vary. Disconnecting the mating connector and removing a wire from a push-in automotive connector are different operations; identify which restraint must be released before starting.
Step 1: Gather the Necessary Tools
Prepare the appropriate extraction tool, good lighting, magnification if needed, labels, and a way to record cavity positions. The original tool list includes pin extraction tools, light-duty flat-blade screwdrivers, and needle-nose pliers. Select the smallest tool that correctly fits the release feature without cutting or spreading the plastic. If wiring repair or terminal replacement is required, use the specified terminal and the correct crimping process; this guide to crimping automotive connectors explains why terminal and tooling compatibility matters.
Step 2: Inspect and Document the Connector
Inspect both mating faces and the wire-entry side. Locate the primary terminal lock, any secondary retainer, clips, seals, and orientation keys. Photograph the connector before moving anything, label the wire, and record its cavity number or position. Also check whether the housing is cracked, heat-discolored, contaminated, or already distorted. If the connector is damaged, plan the repair before removing terminals; the article on how to fix automotive electrical connectors provides related replacement considerations.
Step 3: Release the Secondary and Primary Locks
Move any secondary lock only to the position specified for service. Then insert the correct depinning tool along the intended access path to depress or surround the terminal’s locking feature. A slight push on the wire toward the housing can relieve tension on the lance before the tool is applied. Do not twist aggressively or use excessive force; change the tool angle only within the connector’s documented release path.
Step 4: Extract the Terminal
Once the retention feature is fully released, pull the wire straight back with light, steady tension. Avoid pulling at an angle or by the insulation alone. If the terminal does not move, stop and recheck the secondary lock, tool position, and possible seal interference. Never treat increased resistance as a signal to pull harder.
Step 5: Inspect, Reassemble, and Verify
Inspect the removed terminal, conductor crimp, insulation support, locking lance, plating, seal, and housing cavity. If the terminal is reusable under the applicable service criteria, restore any serviceable retention feature only as the connector documentation permits. Insert it in the correct orientation until it seats and locks, restore the secondary retainer, and perform a gentle retention check. Reconnect and electrically verify the circuit according to the service procedure.
Practical Checks, Risks, and Decision Boundaries
Patience and precision reduce wear on the housing and terminals. Work in a well-lit area, use a connector-specific tool where available, and keep verified replacement housings, seals, and terminals ready before beginning. Always consult the vehicle service manual or supplier drawing for the exact connector.
| Decision point |
Continue only if |
Replace or escalate if |
| Terminal removal |
The correct lock is released and the terminal moves under light, straight tension |
The cavity deforms, the tool slips repeatedly, or the wire begins to stretch |
| Terminal reuse |
The applicable service information allows reuse and the terminal, lance, crimp, and contact area pass inspection |
The terminal is bent, cracked, corroded, heat-damaged, loose at the crimp, or has damaged plating or retention features |
| Housing reuse |
The cavity and lock retain the terminal correctly and the housing has no relevant physical or thermal damage |
The cavity is enlarged, the latch is broken, the housing is cracked or heat-damaged, or retention is uncertain |
| Seal reuse |
Supplier instructions allow reuse and the seal remains correctly positioned and undamaged |
The seal is cut, swollen, hardened, displaced, or cannot be inspected confidently |
| Return to service |
Terminal position, secondary lock, retention, and required electrical checks are all verified |
A fault persists, the circuit is safety-related, or connector specifications remain unknown |
IPC/WHMA-A-620 provides requirements and acceptance criteria for cable and wire harness assemblies; it is not, by itself, a product certification for a particular automotive connector. Vehicle service information, connector drawings, and supplier application specifications remain necessary for connector-specific depinning, inspection, and reuse decisions. Unsupported claims about compliance can create procurement and quality risks, so buyers should request the documents and test evidence relevant to the intended vehicle program and destination market.
Frequently Asked Questions About Depinning Automotive Connectors
How to depin a connector without a tool?
First identify the retention design and disengage any secondary lock. A very small flat implement may release some exposed locking tabs, but many connectors require a precisely shaped extraction blade or tube; if the substitute touches the contact surface, spreads the cavity, or needs force, stop and obtain the correct tool.
What is the best tool for removing automotive electrical connectors?
The best tool is the connector-specific depinning or terminal extraction tool that matches the terminal family and cavity geometry. Universal kits can be useful, but the selected blade or tube must fit without deforming the housing, terminal, seal, or retention feature.
Can a paperclip be used as a pin removal tool?
A paperclip is not a reliable general-purpose depinning tool because its diameter, hardness, tip shape, and surface finish may not match the release feature. It can slip, damage a contact or seal, or spread a cavity; use the specified extraction tool whenever the connector cannot be positively identified as compatible with a simple flat release.
What are common problems when using pin removal tools?
Common problems include choosing the wrong tool size, approaching from the wrong side, failing to release a secondary lock, loading the locking lance before pressing it, and pulling the wire too hard. Tool misalignment can also damage the contact surface, terminal lance, cavity wall, or seal, so stop when the tool does not seat cleanly.
How to depin an automotive connector?
Disconnect power according to the service procedure, record wire positions, identify and release secondary retention, depress the primary terminal lock with the correct tool, and withdraw the terminal with light, straight tension. Inspect the terminal, crimp, seal, and housing before reinsertion, then verify retention and circuit operation.
How do I know whether a terminal can be reused after depinning?
Reuse it only when the applicable service or supplier documentation permits reuse and inspection finds no bent or weakened locking lance, damaged plating, corrosion, heat damage, cracked metal, loose crimp, or conductor damage. When acceptance criteria are unavailable or the terminal’s condition is doubtful, replace it with the specified compatible terminal rather than guessing.
References and Further Reading
The practical rule is simple: if a terminal needs force to come out, the retention system has not been correctly released.
For a connector repair or sourcing decision, compare the housing, terminal, seal, wire, retention design, documentation, and application requirements as one system. Explore ZUCH automotive connector products, or contact the team with your connector drawing and application requirements for a compatibility review. When replacement parts are needed, this guide to where to buy automotive electrical connectors can help structure supplier questions.
 Zhejiang ZUCH Technology Co., Ltd.