How to Crimp Automotive Connectors?
When you’re working with an automotive electrical system, one of the most important parts of that system is being able to connect automotive electrical connectors correctly. An auto electrical connector connects wires and electrical circuits inside a vehicle so they can interconnect and function properly. How you crimp an auto connector determines whether the connection remains reliable or needs early replacement. This article shows how to crimp automotive electrical connectors, select tools, inspect the result, and compare crimping with other joining methods.
Quick Answer: Match the terminal, wire size, and crimp profile; strip only enough insulation for the terminal barrel; insert all strands; complete the crimp with a compatible tool; then inspect retention, conductor support, insulation support, and terminal shape. Use a new terminal if a crimp is damaged or removed.
What Are Automotive Electrical Connectors?
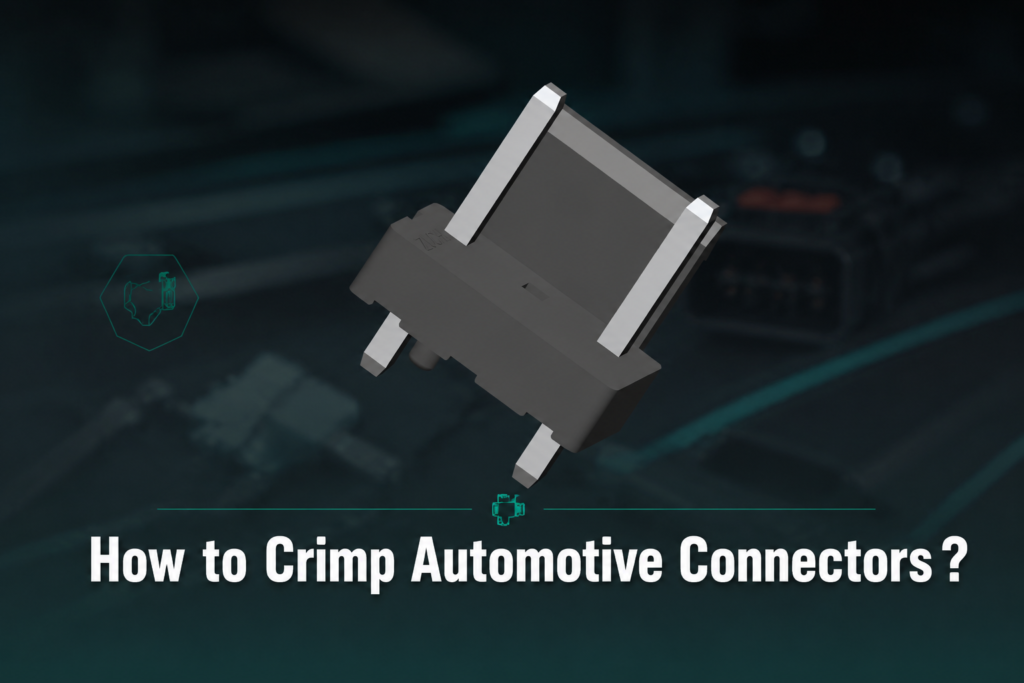
Automotive electrical connectors are specialized components for joining vehicle wires and circuits. They must maintain contact through vibration, temperature changes, dirt, and moisture. Common forms include terminal connectors, weatherproof connectors, and multi-pin connectors. A correctly crimped terminal supports electrical continuity and mechanical retention; the exact terminal and tooling instructions take priority over generic guidance.
Step-by-Step Process for Crimping Automotive Electrical Connectors
- Collect supplies. Use the specified terminal, compatible crimp tool or die, wire cutter and stripper, and (when required by the connector design) heat-shrink tubing.
- Prepare the wire. Cut the conductor cleanly. Strip only the insulation length specified for the terminal. Avoid nicking or cutting strands.
- Orient and insert the terminal. Place the terminal in the correct die position. Insert the stripped conductor so all strands are inside the conductor barrel and insulation reaches the insulation-support area.
- Complete the crimp. Close the tool through its full cycle. A ratcheting tool should release only after the cycle is complete; never substitute pliers for a matched die.
- Inspect and test retention. Check that the barrel is formed evenly, the terminal is not cracked or over-compressed, no strands are exposed, and the wire does not pull out during a controlled hand check. Use the connector maker’s inspection or pull-test criteria where provided.
- Finish environmental protection. For a non-sealed joint where the design allows it, position heat-shrink tubing and shrink it with controlled heat. Do not block seals or deform the terminal.
Crimping Tools and Equipment Required
- Matched crimp tool and die: Select a tool designed for the terminal family and conductor range. Ratcheting tools help complete a repeatable cycle.
- Wire cutter and stripper: Use blades that leave strands intact and a stripping setting suited to the wire.
- Inspection aids: Good lighting, magnification, and a continuity or retention check help reveal incomplete crimps.
- Heat gun and tubing: Use only when compatible with the connector and sealing scheme.
- Correct terminals and seals: Keep terminal, wire, cavity plug, and seal selections consistent with the connector system.
Crimp Quality Inspection Checklist
| Check |
Pass condition |
| Terminal and die |
Correct family, cavity, and die position are used. |
| Conductor |
All strands are captured; none are cut, splayed, or exposed beyond the barrel. |
| Insulation support |
Insulation is supported without being crushed into the conductor crimp. |
| Crimp shape |
Barrel is even, centered, and free of cracks or sharp deformation. |
| Retention |
Wire remains seated during a controlled pull or the specified test. |
| Sealing and lock |
Seal, secondary lock, and terminal position assurance are fully seated. |
Key Differences: Crimp vs. Solder vs. Wire Nuts
Crimping creates a mechanical and electrical joint without adding heat and is commonly selected for vibration-prone vehicle harnesses when the terminal and tooling are matched. Soldering uses heat and solder and may be appropriate where the design and workmanship requirements allow it, but it adds a thermal process. Wire nuts are intended for other wiring contexts and are generally unsuitable for automotive harnesses exposed to vibration, moisture, and limited space.
Common Mistakes When Crimping Connectors
Avoid using a mismatched die, pliers, or an unverified terminal; stripping too much or nicking strands; failing to seat the conductor and insulation at the correct barrel locations; crimping over a damaged terminal; skipping inspection; or reusing a terminal that was deformed during removal. If a crimp fails inspection, cut it off and prepare a new terminal rather than trying to reshape it.
FAQs
Is it better to crimp or solder automotive wiring?
Use the joining method specified for the connector and harness design. A correctly executed crimp provides repeatable mechanical retention without heating the insulation; soldering requires controlled heat and may not suit every high-vibration or sealed connector. Follow the terminal manufacturer’s process and applicable workmanship criteria.
What can I use if I don’t have a crimping tool?
Do not substitute pliers, a hammer, or improvised tools for a matched crimp die. Pause the repair and obtain the tool specified for the terminal, or have the harness crimped by a qualified service provider.
What is a good crimping tool for connector pins?
A good tool is one designed for the exact terminal family and wire range, with a die that forms the specified conductor and insulation crimps. A ratcheting cycle, clear position markings, and documented inspection guidance are useful selection criteria.
What are common crimping mistakes?
Frequent errors include using the wrong terminal or die, nicking strands while stripping, leaving strands outside the barrel, incomplete tool closure, over-crushing the terminal, and skipping retention or visual inspection.
How do I crimp automotive wires?
Identify the terminal and wire specification, strip to the specified length, insert every strand into the conductor barrel, place the terminal in its matched die, complete the tool cycle, and inspect conductor support, insulation support, terminal shape, lock, seal, and retention.
What are the disadvantages of crimping?
Crimping depends on correct terminal, wire, die, and process control. A mismatched tool or poor preparation can produce hidden high resistance or weak retention, and a damaged crimp is normally replaced rather than repaired. These risks are managed through matched components and inspection.
References and Further Reading
Reference sources used in this article: The links below provide public technical and workmanship guidance for further verification.
For related connector work, see How to Remove Wire from Push in Connector Automotive?, How to Fix Electrical Connectors Automotive?, Where to Buy Automotive Electrical Connectors?, and Automotive Electrical Connectors OEM. For a related technical topic, see How To Use Automotive Wire Connectors.
 Zhejiang ZUCH Technology Co., Ltd.