Automotive Electrical Connector Repair
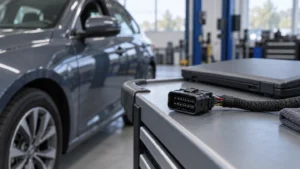
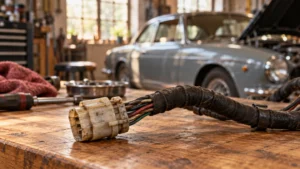
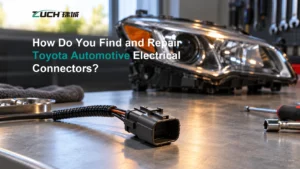
The process of repairing auto electric connectors can sometimes be overwhelming for the average car owner. Most of the time, these small components are neglected until something has gone wrong, causing problems with every critical vehicle system controlled by that electrical connector. Regardless of the reason—be it a sensor connector that isn’t working, a broken wiring harness, or corrosion buildup—repairing the electrical connectors of your vehicle is crucial for maintaining its overall performance and reliability.
What Are Auto Electric Connectors?
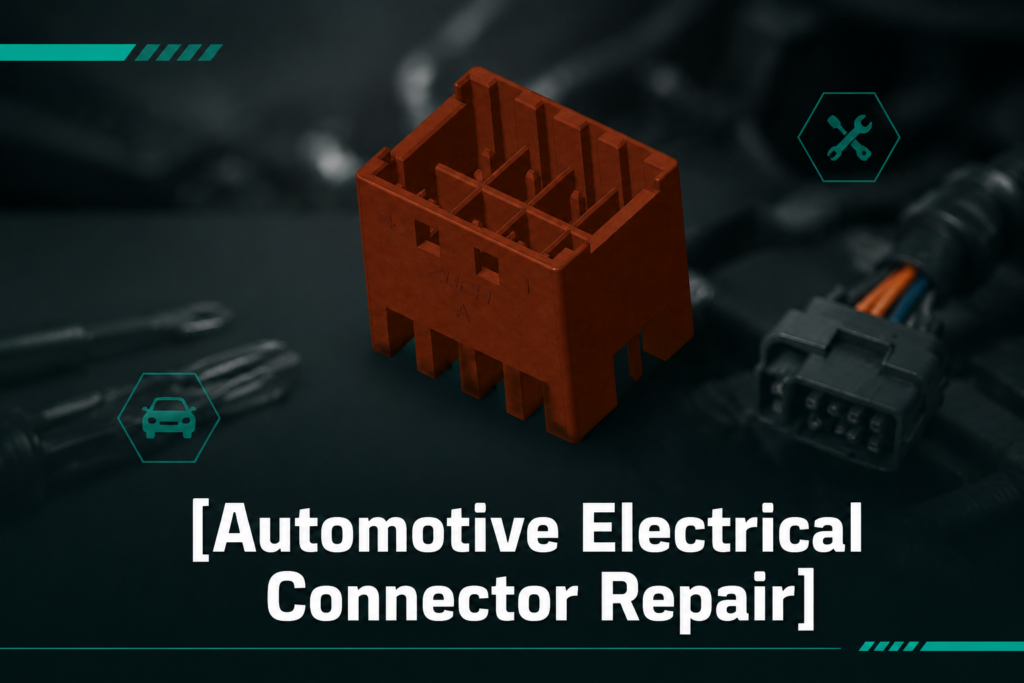
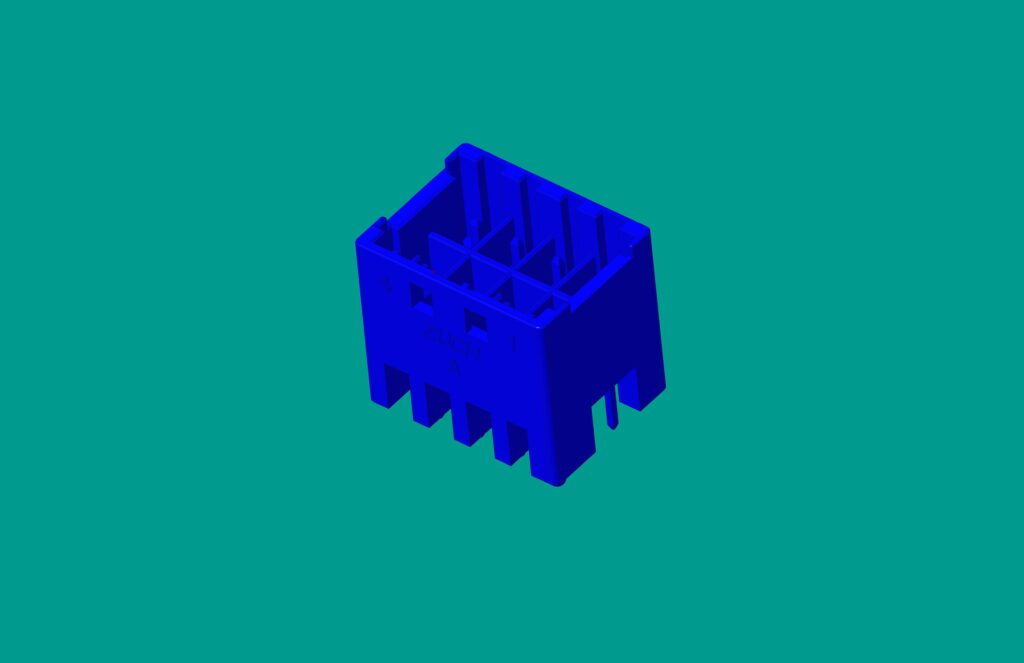
Auto electric connectors are compact devices that join wires and components together to create secure electrical connections within a vehicle’s electrical system. They transmit signals and power to various systems, such as lights, engine management, and safety features. Over time, these connectors can degrade due to prolonged exposure to heat, infiltration of water, or physical damage, which results in electrical issues.
Reasons for the Most Common Types of Auto Electrical Connector Failures
Knowing what causes electrical connector failure allows you to take preventive action and avoid larger repairs. Here are some common reasons why electrical connectors fail:
- Corrosion: Rust often forms on metal contacts inside connectors due to moisture or water exposure.
- Physical Damage: Pulling or crushing manually or accidentally can disrupt the wire connection inside the housing.
- Heat Damage/Degradation: Exposure to high temperatures may melt insulators or distort plastic housings of the connector.
- Improper Installation: Loose installations or poor fitting can hinder proper electrical conductivity.
How to Repair Auto Electric Connectors
Repairing an electrical connector is possible without seeking professional assistance. With the proper tools and techniques, you can restore a connector’s functionality to its original state. Here’s a comprehensive guide:
Step 1: Inspect the Connector
Carefully examine the damaged connector for corrosion, broken pins, or melted sections of the housing. If the connector is completely compromised, replacing it may be a better option than repairing it.
Step 2: Disconnect Power
Ensure the power supply is turned off before starting repairs. This prevents both electrical shocks and further damage to the connector. Disconnecting the battery cable or detaching the corresponding system can achieve this.
Step 3: Clean the Contacts
If corrosion is present on the metal pins, clean them using a wire brush or an electrical contact cleaner for better conductivity and a secure connection.
Step 4: Repair Damaged Wiring
If wires are broken or frayed, follow the vehicle maker’s wiring-repair procedure and use the specified wire size, terminal or sealed splice, crimp tool, strip length, and environmental protection. Electrical tape is not a conductor, terminal, or structural wire repair and should not be used as the only connection method.
Step 5: Replace Plastic Housing
For cracked or melted housing, secure a compatible replacement from an OEM supplier. Carefully transfer the internal pins and wiring into the new housing before reconnection.
Step 6: Re-Test the Connection
Once the repair is complete, reconnect the electrical system to the power source and test the component to ensure it’s functioning properly.
Tools Needed for Connector Repairs
Repairing automotive electrical connectors requires specialized tools to ensure precise and safe work. Here are the essentials:
- Electrical contact cleaner
- Multimeter for voltage testing
- Wire crimping tool
- OEM-specified terminal, splice, and insulation tools; use solder only when the vehicle maker’s repair procedure explicitly permits it
- Replacement connectors and housings
- Small screwdrivers or connector pin removal tools
Tips to Prevent Electrical Connector Function Failure
Preventing electrical connector failure is preferable to repairing it. Protecting your auto electrical connectors ensures reliable vehicle performance over time. Here are some helpful preventive tips:
- Regularly inspect connectors for signs of wear or corrosion.
- Use dielectric grease or seal lubricant only when the connector maker or vehicle service procedure specifies the product and application point.
- Ensure connectors are securely tightened during installation.
- Avoid exposing connectors to excessive heat or harsh chemicals.
Decide Whether to Clean, Re-Terminate, Replace the Pigtail, or Replace the Harness
A reliable repair starts by separating surface contamination from loss of contact integrity. Cleaning can be appropriate when the housing, plating, contact spring, terminal retention, wire, and seals remain serviceable. A terminal should be replaced when it is bent, pitted, overheated, loose, corroded through the plating, or no longer retained. Replace the connector housing or approved pigtail when the latch, key, secondary lock, seal interface, or cavity is damaged. Escalate to the applicable OEM harness-repair or replacement procedure when damage reaches a protected splice, shielded or twisted circuit, restraint system, high-voltage circuit, or multiple adjacent conductors.
| Observed condition |
Likely action |
Evidence to verify |
| Dry dirt with intact plating and retention |
Clean only with an approved method |
Visual inspection, terminal retention, normal function |
| Terminal back-out or weak retention |
Inspect terminal lance and secondary lock; replace damaged parts |
Correct insertion depth and specified pull/retention check |
| Heat discoloration or melted cavity |
Replace affected terminal and housing; diagnose the load path |
Crimp, contact resistance or voltage drop, current, wire size, mating condition |
| Broken latch, seal land, or polarization feature |
Replace the housing or approved pigtail |
Exact mating interface, seal, keying, cavity map |
| Airbag, high-voltage, shielded data, or OEM-restricted circuit |
Use trained-service and manufacturer-specific instructions |
Vehicle service information and required safety procedure |
A Verification Sequence That Finds More Than a Continuity Beep
- Record the original cavity map, wire colors, conductor sizes, seals, and connector orientation before depinning.
- Identify why the connection failed: water path, terminal back-out, poor crimp, overload, fretting, vibration, damaged lock, or incorrect previous repair.
- Use the exact terminal family and approved wire range. A visually similar terminal can have different retention, plating, or contact geometry.
- Inspect conductor and insulation crimps, terminal seating, secondary-lock engagement, seal position, and strain relief.
- Perform the circuit checks required by the service procedure. Depending on the circuit, this may include continuity, shorts to power or ground, voltage drop under load, isolation, or network checks.
- Recreate the original routing, support, bend radius, and environmental protection so the repair does not introduce a new stress point.
Why OEM Repair Instructions Take Priority
NHTSA’s public technical-service-bulletin library contains manufacturer repair and replacement guides that show why one universal splice method is inappropriate. Repair permissions can change by circuit, location, conductor, shielding, and damage length. Treat public repair guides as examples of the decision process and use the exact current service information for the vehicle being repaired.
FAQs
How do I perform electrical connector repairs?
Repairing connectors involves inspecting for damage, cleaning corrosion, replacing damaged wires or housings, and securing a stable connection. Always disconnect the power source before initiating repairs.
Can I perform connector repairs myself?
Yes, DIY repairs are possible with the proper tools and knowledge. However, if the damage is extensive or if you are unsure of your skills, consult a professional technician.
When should I replace a connector instead of repairing it?
Replacement is necessary when pins are completely rusted, housings are severely damaged, or the connector repeatedly fails despite repairs.
What is the best way to clean electrical connectors?
Use an electrical contact cleaner or isopropyl alcohol with a small wire brush. Ensure corrosion removal is gentle to avoid damaging pins or housings.
Can damaged connectors cause electrical failures?
Yes, damaged connectors can lead to impaired conductivity, system malfunctions, intermittent errors, or complete functional failure.
How do I fix a wire pulled out of an automotive connector?
First identify whether the terminal backed out intact or the conductor broke at the crimp. Inspect the retention lance, cavity, secondary lock, seal, and wire. Reinsert only a serviceable, correct terminal; otherwise replace it using the specified terminal, crimp tool, and vehicle repair procedure.
Is electrical tape enough to repair a broken automotive wire?
No. Tape can provide limited insulation or bundling when specified, but it does not create a controlled electrical and mechanical connection. Use an approved terminal, sealed splice, or pigtail repair.
Should automotive connector terminals be soldered or crimped?
Follow the connector and vehicle maker’s repair specification. Production automotive terminals are commonly crimped with controlled tooling; solder can create a rigid stress concentration or interfere with contact and sealing when it is not specifically permitted.
How can I tell whether a repaired connector still has excessive resistance?
Visual inspection and continuity alone may miss a resistive connection. Where the service procedure permits, test voltage drop under the intended load and compare it with the manufacturer’s limit while monitoring for heat or intermittent operation.
When should a DIY connector repair be avoided?
Do not improvise repairs on high-voltage, airbag or restraint, pyrotechnic, safety-critical, shielded data, or other circuits restricted by the vehicle maker. Use trained service personnel and the applicable isolation and verification procedure.
Repairing automotive electrical connectors is a necessary skill for maintaining the electrical systems in your vehicle. By cleaning corroded areas, fixing damaged wires, and replacing broken housings, you can save both time and money. Adopting regular inspections and preventive measures will extend your vehicle’s lifespan and improve its reliability. Addressing connector issues promptly prevents further complications and ensures your car operates smoothly.
Final Takeaway: Repair the Cause, Then Verify the Circuit
A successful connector repair restores more than continuity: it restores terminal retention, contact integrity, sealing, wire support, routing, and the required electrical performance. Identify why the connector failed, use the approved parts and process, and complete the specified post-repair checks before returning the circuit to service. For a related technical topic, see How To Fix Electrical Connectors Automotive.
References and Further Reading
- NHTSA TSB library example — Wire Harness Repair or Replacement Guide
- NHTSA TSB library example — Wire Terminal and Connector Repair
- IPC/WHMA-A-620 cable and wire-harness acceptance resource
- ISO 8092-2:2023 — road-vehicle harness connector test scope
 Zhejiang ZUCH Technology Co., Ltd.