When you’re working with an automotive electrical system, one of the most important parts of that system is being able to connect automotive electrical connectors correctly. An auto electrical connector connects all the wires and electrical circuits inside a vehicle and provides a way for them to interconnect with each other to function properly. How you crimp an auto connector determines whether or not it’s going to be a good connection or if you’ll have to replace it in short order. This article will show you how to correctly crimp automotive electrical connectors. You’ll be given a step-by-step process on how to do so, as well as some additional information on the tools needed, the techniques used and how auto connectors compare with other popular methods of connecting two items together.
What Are Automotive Electrical Connectors?
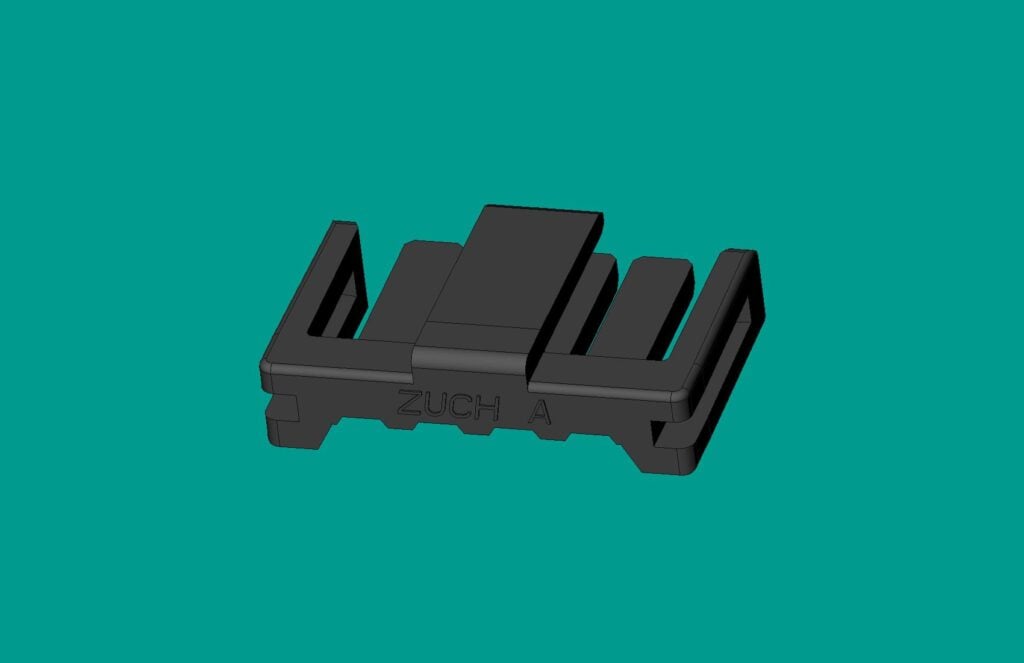
Automotive electrical connectors are specialized tools designed specifically for connecting automotive electrical wires. Automotive connectors are designed to maintain the correct electrical connection between the electronic systems in an automobile despite the continual force being placed on them. They must be able to hold up to vibrations, temperature variations, dirt and moisture exposure, etc. The types of automotive connectors most commonly used are terminal connectors (also referred to as plug connectors), weatherproof connectors and multi-pin connectors. Properly crimped automotive electrical connectors ensure both the overall electrical connection performance will be adequately performed and the safety of the automobile.
Step-by-Step Process For Crimping Automotive Electrical Connectors
1. Collect Your Supplies
For crimping automotive electrical connectors, you will need the following tools/supplies:
- A good quality automotive electrical connector crimping tool
- The appropriate type of automotive electrical connector connector
- Wire cutting & stripping tool
- Heat shrink tubing (if applicable)
Your crimp tool should match the type of connector being crimped. Many automotive connectors require a specific crimp shape and/or crimp size to ensure the connection is secure.
2. Prepare The Wire
Use your wire stripping tool to remove a small piece of insulation from one end of the wire. As a general rule, removing approximately a quarter inch to a half inch of insulation is a good amount of insulation to remove from the wire depending on what size automotive connector you’re crimping onto the wire. When using crimped connectors to connect wires, avoid damaging the wire strands.
3. Insert The Wire Into the Connector
Insert the stripped end of the wire into the barrel of the connector, ensuring that the wire strands are secured within the connector barrel and do not splay or remain exposed.
4. Use the Crimp Tool
Place the connector into the appropriate slot on your crimp tool and ensure that the end of the wire is completely inserted before crimping. Compress the handles of the crimping tool until the connector is securely crimped onto the wire. If your crimp tool has a ratcheting release, it will automatically release when the correct pressure has been applied.
5. Inspect the Crimped Connection
Check your crimped connection to ensure it is secure and does not pull out with moderate force. Verify there are no bent or deformed connectors, and ensure that no wire strands are exposed.
6. Add Heat-Shrink Tubing (If Applicable)
For non-sealed connectors, slide heat-shrink tubing over the connection and use a heat gun to shrink it. The tubing provides extra protection and insulation to the connection.
Key Differences: Crimp vs. Solder vs. Wire Nuts
There are three main methods for connecting wires, each with its unique strengths and weaknesses:
Crimp: Crimping is a quick and consistent method that requires no heat and creates strong mechanical connections. It is especially effective in automotive applications as it reduces the risk of failure due to vibrations.
Solder: Soldering creates a very secure electrical connection but requires heat, precision, and more time. However, soldered connections in vehicles may crack due to vibrations.
Wire Nuts: Wire nuts are often used in household wiring but are unsuitable for automotive use because they can’t withstand environmental stresses like vibration and moisture.
Crimping Tools and Equipment Required
To properly create a permanent and strong crimp, you need the proper tools. Here are some tools you must have:
Automotive Connector Crimp Tool: The most crucial tool for crimping connectors. A ratcheting-style crimp tool is ideal as it ensures consistent pressure, resulting in professional-grade crimps.
Wire Strippers and Cutters: Precision tools to remove insulation without damaging the wire strands.
Heat Gun: Essential for shrinking heat-shrink tubing and adding an extra layer of protection to your crimped connection.
Top-Quality Connectors: Using high-quality connectors ensures durability and reliability under harsh automotive conditions.
Common Mistakes When Crimping Connectors
Avoid these common errors when crimping automotive connectors:
Using The Incorrect Tool: Ensure your crimp tool is designed for your specific connector. Using pliers or a mismatched tool can result in weak crimps.
Improperly Stripping The Wire: Stripping too much or too little insulation can lead to exposed wires or poor contact.
Failure to Inspect: Always inspect the final crimp to detect issues like loose connections or improperly seated wires.
FAQs:
Q: What’s the Difference Between Crimping, Soldering, and Using Wire Nuts?
Crimping: Crimping creates a secure mechanical connection with low electrical resistance, making it ideal for automotive applications. It’s fast, effective, and durable under vibration.
Soldering: Soldering involves melting solder to form a strong electrical bond. While reliable, it takes more time and may crack in high-vibration scenarios.
Wire Nuts: Wire nuts are commonly used in household wiring but are unsuitable for automotive environments due to poor vibration resistance and lack of weatherproofing.
Q: What essential tools do I need for crimping connectors?
To ensure a successful connection, you’ll need the following tools:
- An automotive connector crimp tool, preferably with a ratcheting mechanism for consistent pressure
- Wire strippers and cutters
- Heat-shrink tubing and a heat gun (optional for added protection)
- High-quality automotive connectors matched to the wire gauge
Q: What should I look for when selecting an automotive connector crimping device?
Select a crimp tool compatible with the type and size of connectors you’re using. Adjustable-die tools can work on different connector sizes, while some are customized for specific connectors (e.g., weatherproof ones). Tools with ratcheting mechanisms offer consistent pressure, ensuring professional-grade crimps every time.
Q: Why do my crimps fail?
Common causes of crimp failures include:
- Using the wrong crimping tool or connectors
- Improper wire stripping, leaving too much or too little insulation
- Insufficient pressure during crimping
- Poor-quality connectors or damaged wires
Check your tools and materials, and inspect crimped connections thoroughly to avoid these issues.
Q: Can I reuse crimp connectors?
Reusing crimp connectors is not recommended, as removing them can damage the internal contact points, leading to unreliable connections. Always use new connectors for the best results.
Learning the proper technique for crimping automotive electrical connectors is a very important skill if you work with car wiring. By following the correct methods and using the appropriate crimping tools, you can create secure, durable connections that will be able to endure the harsh environment found in vehicles. Investing your time into learning how to properly crimp connectors will not only save you money and time but also enhance the reliability of your car’s electrical systems.


: From Basics to Full-Scenario Solutions")


