How to Remove Wire from Push in Connector Automotive?
Automotive electrical connectors are integral parts of vehicle wiring systems and provide the correct connections between various circuits of an automobile, allowing the proper functioning of the vehicle. There may be an occasion when a wire may need to be removed from a push-in connector—for an electrical repair, connector replacement, or system upgrade. If you want to know how to safely and effectively remove a wire from a push-in connector, this article will explain that process, while also providing additional insights about automobile electrical connectors.
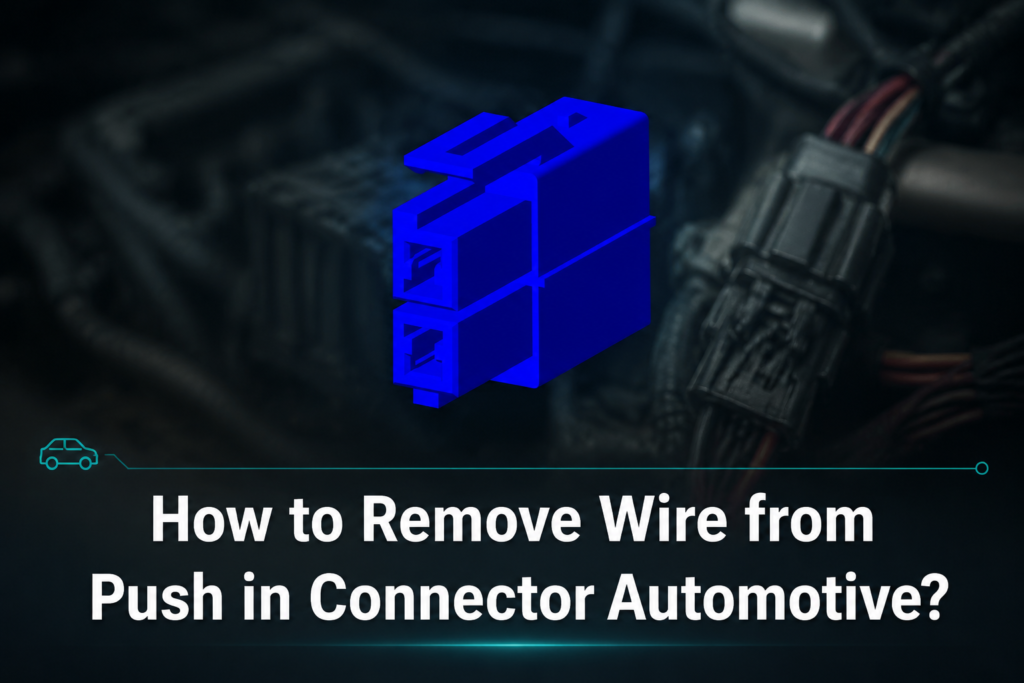
Quick Answer: To remove a wire from an automotive push-in connector, isolate the vehicle power, identify whether a secondary lock is present, and use the correct terminal-release tool to depress the locking tang while pulling the wire straight back. Push the wire slightly into the housing before releasing the tang if needed. Stop if the terminal will not release with light, controlled pressure; forcing it can spread the terminal, break the housing, or damage the conductor. After de-pinning, inspect the terminal, seal, lock and wire before deciding whether to reinstall or replace them.
Before You Start: Safety and Decision Check
Connector designs vary by vehicle, supplier and circuit. Confirm the connector family and terminal position from the vehicle service information or the connector drawing before inserting a tool. Disconnect the relevant power source and follow the vehicle procedure for systems with air bags, high voltage or stored energy. Wear eye protection, keep the harness supported, and never probe an energized circuit.
| What you observe |
Recommended action |
Reason |
| A visible secondary lock (TPA/CPA or retainer) |
Move the lock to its service position before releasing the terminal. |
The primary tang may not disengage while the secondary lock is closed. |
| The wire moves slightly but will not come out |
Push the wire in, depress the tang with the correct-size release tool, then pull straight back. |
Relieving tension helps the tang clear the terminal shoulder. |
| Corrosion, melted plastic, bent terminal or damaged seal |
Stop and replace the affected terminal, seal or housing according to service guidance. |
Reuse can create a loose, high-resistance or moisture-prone connection. |
| Release position or terminal type is unclear |
Use the connector drawing or a qualified technician rather than guessing. |
Different families use different release directions and tools. |
Why Removing Wires is Important
Learning how to remove a wire from a push-in connector is an important part of maintaining and repairing an automobile. If you know how to perform this repair, it can save you from having to purchase new connectors, damage the wiring system, and keep your automobile functioning properly. If an electrical wire is not connected correctly or is defective, it could potentially cause problems such as short circuits, loss of function of important components, or even catastrophic failure of your automobile. Knowing how to properly work with automobile electrical connectors is critical to avoiding these problems.
What Are Push-in Connectors?
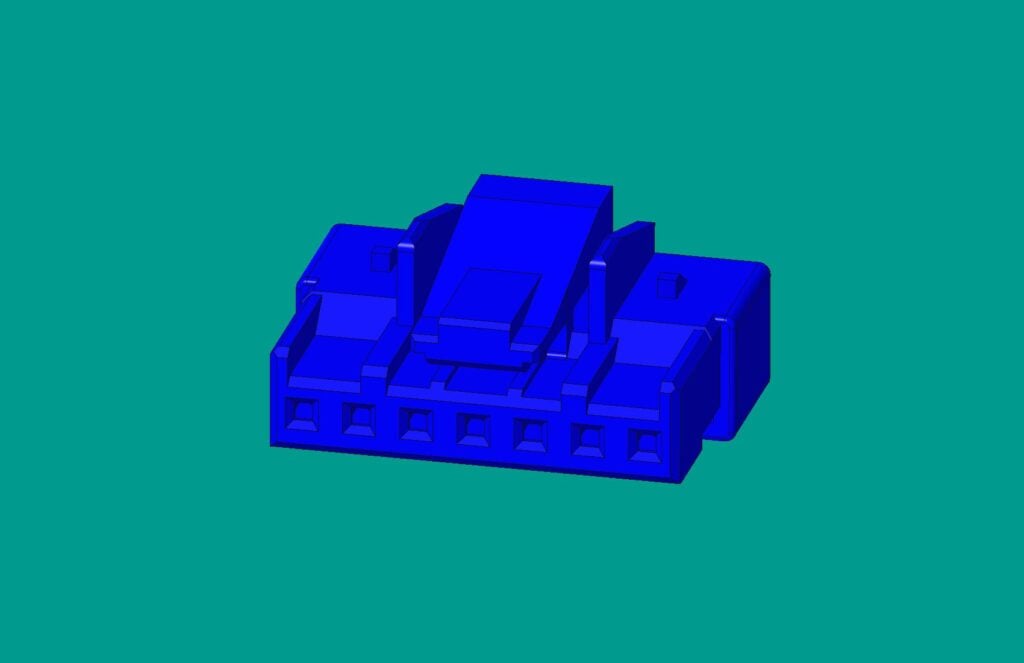
Understanding what a push-in connector is will help you understand how to remove a wire from it. Push-in connectors are quick-connect electrical fittings that you will find in most newer automobiles. These electrical connectors are made to simplify the process of connecting wires by making it possible to easily push a wire into the connector without having to solder the wire to the connector. Internal clamps or lock mechanisms hold wires in place, which makes them a reliable way to store wires, but makes it difficult for them to be removed without the proper tool or knowledge.
Step-by-Step Guide: How to Remove Wire from a Push-in Connector
Follow these steps to safely remove a wire from a push-in connector in an automotive setup:
Step 1: Gather Tools Needed
Some examples of what you may need include:
- A small screwdriver (flathead) or a tool designed for removing wires from connectors.
- Some type of pliers to help you hold onto wires better.
- If wires are sharp or removing wires from a tight space, use gloves for safety.
Step 2: Disconnect the Power Source
Make sure to turn off electric power before you attempt working on any automotive connectors. This prevents accidental electrical shocks and avoids damaging electrical components in the system.
Step 3: Identify the Release Mechanism
Look for a release mechanism (such as a small tab, button, or hole) on the connector to unlock the wire. Different manufacturers have varying designs, so consult your vehicle’s repair manual if necessary to locate it.
Step 4: Use the Appropriate Tool
Use a small screwdriver (flathead) or a specialized tool to carefully press or pry the locking tab away from the wire, releasing it from the connector. Avoid using too much force to prevent damaging the connector.
Step 5: Pull the Wire Out of the Connector
Once the release mechanism is disengaged, gently pull the wire out of the connector. If the wire does not come out easily, double-check that the mechanism is fully released before proceeding. Do not use excessive force, as this could damage the wire or the connector itself.
Step 6: Inspect Connector and Wire
After removing the wire, inspect both the connector and the wire for signs of damage. Look for corrosion, fraying, or any other issues that might indicate the need for replacement components. Clean the connector if necessary before reconnecting or replacing it.
Additional Tips for Working with Automotive Electrical Connectors
Although removing wires from push-in connectors is relatively straightforward, following these additional tips can help you complete the process more safely and efficiently:
- Always use tools specifically designed for working with automotive connectors to minimize the risk of damage.
- Label all wires before removal to make reinstallation easier and avoid confusion.
- If you are unsure of the process, consult your vehicle model’s professional repair guide for additional instructions.
- Use dielectric grease during reconnection to improve conductivity and reduce the risk of corrosion on the connectors.
Disconnecting an automotive electrical connector separates the mating pair; removing a wire releases a terminal from its housing. If a contact needs work, follow the appropriate automotive connector repair procedure and specified crimping process. When sourcing replacement automotive connectors, match the exact parts and check the OEM connector requirements.
Frequently Asked Questions
What Types of Automotive Connectors Are Most Common?
In addition to push-in connectors, other commonly used automotive connectors include spade connectors, butt connectors, and ring terminals. Each type has its specific purpose, making it easier to perform wiring repairs and connections when necessary.
How Do I Know When to Replace an Automotive Connector?
If a push-in connector shows signs of wear, corrosion, or damage that could prevent a secure connection, it may need replacement. Faulty connectors can lead to poor performance or failure and should be addressed promptly.
Can Push-In Connectors Be Reused After Removing the Wire?
Yes, many push-in connectors are reusable as long as they are undamaged during the removal process. Inspect the connector carefully after removing the wire and decide whether it can be reused for future connections.
How to get wires out of a push-in connector?
First isolate power and identify any secondary lock. Move the secondary lock to its service position, insert the correct terminal-release tool alongside the terminal to depress the locking tang, and pull the wire straight back while keeping the tool aligned. If the wire resists, push it in slightly and try releasing the tang again; do not force it.
How to remove wire from car connector without tool?
A small flat-blade screwdriver may work on some connector families, but it is not a universal substitute for a terminal-release tool. Use only a tip that fits the release opening without spreading the terminal, and stop if the housing or tang begins to deform. The connector drawing or service manual should determine the safe method.
How to unclip automotive electrical connectors?
Support the harness, release the connector’s external latch, and separate the two halves without pulling on individual wires. If a CPA or TPA secondary lock is fitted, move it to the unlock position first. Check that the latch and seals remain intact before reconnecting.
What tool is used to remove wires from connectors?
Use a terminal-depining or connector-release tool sized for the terminal’s release cavity. Tool shape varies with the terminal family; a service kit may include flat blades, round probes or forked tools. A generic tool should be used only when it fits without damaging the housing or terminal.
How do I know if a connector has a secondary lock?
Look for a differently colored insert, sliding bar, wedge, cover or small retainer that moves independently of the main latch. Connector documentation identifies these as a terminal position assurance (TPA), connector position assurance (CPA) or secondary retainer. Do not pry the terminal until this lock is in its specified service position.
Can I reuse a terminal after de-pinning it?
Reuse is possible only when the terminal’s locking tang, plating, crimp barrel, wire insulation and seal remain undamaged and the connector maker permits reuse. Replace a terminal that is bent, loose, corroded, overheated or no longer retains the wire securely. Verify retention and continuity after reassembly.
Knowing how to remove a wire from an automotive push-in connector is a valuable skill for maintaining your vehicle’s electrical system. By following the steps above, you can complete the task safely and efficiently and protect both your connectors and wiring. Always make sure you have the appropriate tools, take safety precautions, and handle electrical components with care. This technical knowledge will serve you well in ensuring your vehicle operates smoothly for years to come.
References and Further Reading
Reference sources used in this article: The links below provide public technical and workmanship guidance for further verification.
 Zhejiang ZUCH Technology Co., Ltd.