Crimping terminals for vehicles is an important part of working on a vehicle’s electrical connections. It is when you use a crimping tool to attach a wire to a terminal connector, and is important because it provides a durable mechanical/electrical connection. Many different electrical components (battery, lights, etc.) must operate reliably to ensure overall performance of automobile systems. This article will teach you how to properly crimp electrical terminals; provide suggestions and answers to frequently asked questions; and also include some other aspects of terminating: i.e. soldered connections, weatherproof terminals etc…
What Are Automotive Terminal Connectors?
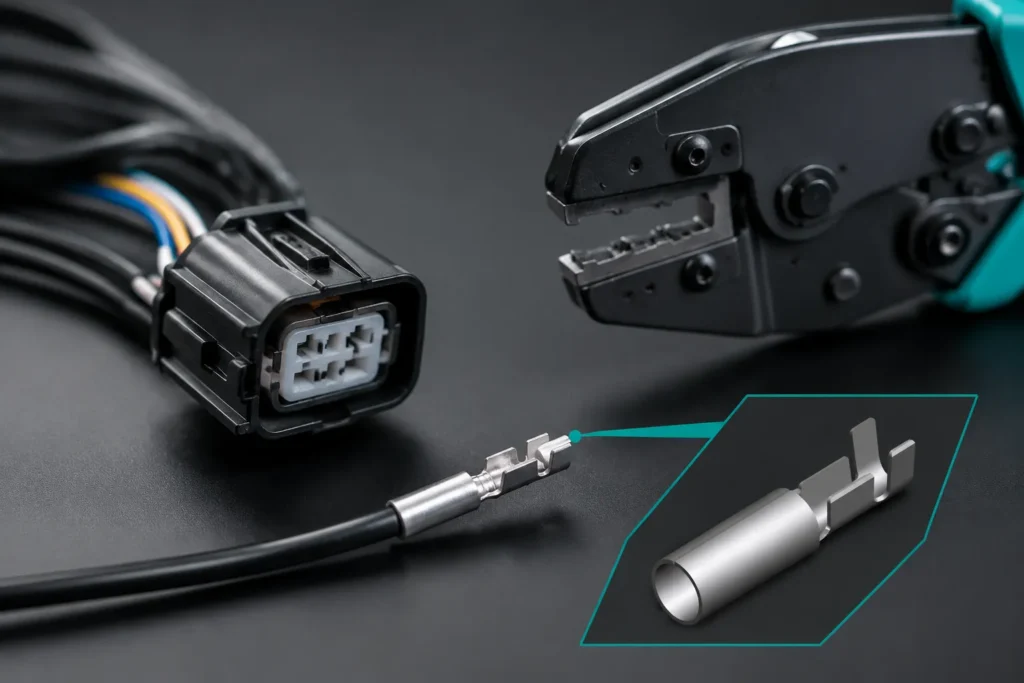
Automotive terminal connectors Electrical terminals are components created to connect electrical wires to terminals found in many different vehicle systems. Electrical terminals are often found in automotive wire harnesses and provide stable connections that resist vibration and can handle extreme situations. Popular types of automotive electrical terminals include: ring terminals, spade terminals, bullet connectors and blade connectors. Each category serves a different function and only works with designated components like batteries or circuit boards.
Why Is Proper Crimping Important for Automotive Electrical Terminals?
A correctly crimped terminal will provide you with a reliable connection, which will greatly reduce the electrical resistance from the contact point of the wire to the contact point of the terminal as well as help prevent problems caused by overheating and corrosion of the terminal. Many automotive systems rely on utilizing strong crimped connections, ranging from simple circuit installations to complex wiring configurations for ECUs. Using improper techniques for crimping terminals can create loose terminals in a circuit, electrical failures, and the possibility of creating hazardous situations including short circuits and fires.
If you repair or install high-performance automotive wiring connectors, you must ensure that you use a sound crimp when connecting wire harnesses, etc., to help maintain proper wire connection, performance and a safe electrical system in your vehicle.
Step-by-Step Guide: How to Crimp Automotive Terminals
If you want to crimp automotive terminals like a pro, follow these detailed steps:
1. Choose the Right Tools and Materials
To obtain a solid crimp, first choose a quality crimp tool that is made specifically for automotive electrical terminations. In addition to the crimp tool, you will need a stripping tool, terminal (the correct size and shape), heat shrink tubing (if insulation is wanted), etc. Avoid using economy or non-specific crimp tools as they may not provide a secure hold when used in conjunction with automotive applications.
2. Strip the Wire
Gently take off 1/4 inch (6 – 8 mm) of Insulation (non-conductive material) on end of wire with wire stripper. Be careful not to cut or damage any copper strands beneath insulation. Damaged strands can adversely affect the mechanical strength and electrical conductivity of your crimped connection.
3. Select the Appropriate Terminal
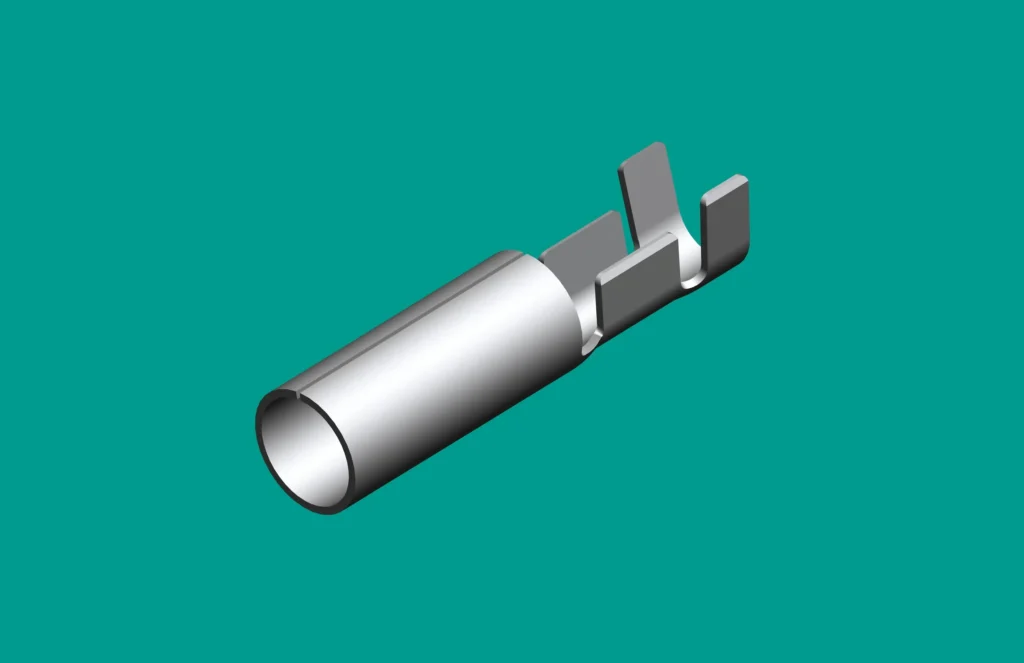
Make sure the connector is suitable for both the gauge of wire used and the needs of your particular application before purchasing it. For example, a project located in an area prone to moisture would benefit by using weatherproofed wire connectors containing a sealant designed to prevent moisture from penetrating to the wire terminals. Once the wire has been stripped of insulation, insert the end of the wire into the sleeve of the connector until the copper strands contact the metal surface of the connector fully.
4. Crimp the Terminal
Seat the terminal in the crimping tool while ensuring that you properly align the terminal and die in accordance with either the type of crimp or size and fit of terminal; for example, some will have matching colours between the insulating material of the terminal and crimping tool (s/b/cra).
When using the crimping tool, apply force to handle so that the terminal creates a permanent hold on the wire by being compressed around it by way of the structure in which the crimping tool operates (the die).
5. Inspect the Crimp
Once you have crimped the wire, take a moment to inspect the terminal closely. A good crimp will firmly hold the wire snugly inside the crimp barrel and not cause any damage to the terminal or the copper strands of the wire. If you pull on the wire gently and are able to easily pull it out of the crimp barrel, then you will need to re-crimp the terminal because it is too loose.
6. Apply Heat Shrink Tubing (Optional)
Using heat shrink tubing over crimped terminals gives your installations a professional look and adds protection to your connections. To create a water-resistant, insulated barrier around your crimp connections, use a heat gun to heat the tubing until it shrinks uniformly around the connection.
Tips for Working with Automotive Terminals and Connectors
To ensure your vehicle’s wiring projects are successful, keep these tips in mind:
– Prioritizing quality is always a must: It is highly important to use quality terminals, wiring and tools that are rated for automotive use so that they will have longevity under all types of conditions (vibrations, temperature extremes etc.)
– Make sure that the wire gauge and size of the terminal match: An improper match between the size of the wire and size of the terminal may create a loose or poor connection. Before making any connections using terminals, check your terminal specifications.
– Select waterproof connectors for your connections when exposed to moisture, dirt or high humidity conditions. You should also consider using dedicated waterproof automotive terminals or connectors that have some sort of seal (heat shrink type terminals and Deutsch type connectors) for this application.
– Test your connection after installation: After you have crimped a terminal on an electrical connection and finished installing it, always use a multimeter or inspect visually to make sure that your connection is operational.
FAQs
How can I ensure I’m using the correct crimping tool?
Choose a tool made for automotive terminals/connectors, specifically designed to have dies that match the size of different terminal gauges (often labeled or coded by color). Do not use regular pliers, as they will not provide an adequate connection.
Can I use solder instead of crimping?
Crimping is generally favored for automotive uses due to its ability to create a mechanical bond with sufficient strength to outlast the vibrations generated by engines. Soldering does provide electrical conductivity, but it does not create a sturdy enough glue. Some professionals will use both crimping and soldering by crimping first and then soldering for added security.
How do I avoid damaged wire strands when stripping insulation?
Utilize a quality wire stripping tool that corresponds to gauge size of your wire when stripping cables. Lightly squeeze the grip of the wire stripping tool, and evenly turn the strippers on their vertical axis (horizontally rotating them), to avoid unintentionally cutting through the copper wires inside the insulated jacket of the cable.
When you learn how to crimp electrical connectors properly on your car, that will allow for a better performing electrical system in your car. Crimps will connect wires together (both new and older wire that has damaged ends) and provide a solid mechanical improvement over traditional soldered connections (when done correctly). You will have less time wasted when your wire connections fail due to poor crimping methods; and you will also reduce the chances of experiencing a failure while driving.
In conclusion, crimping automotive terminals is an important skill for the safety, efficiency, and longevity of the electrical connection within a vehicle. If you use the right tools, follow step-by-step procedures, and take the proper precautions, you will excel at this important task, and your automotive projects will always be able to be driven on the road.


